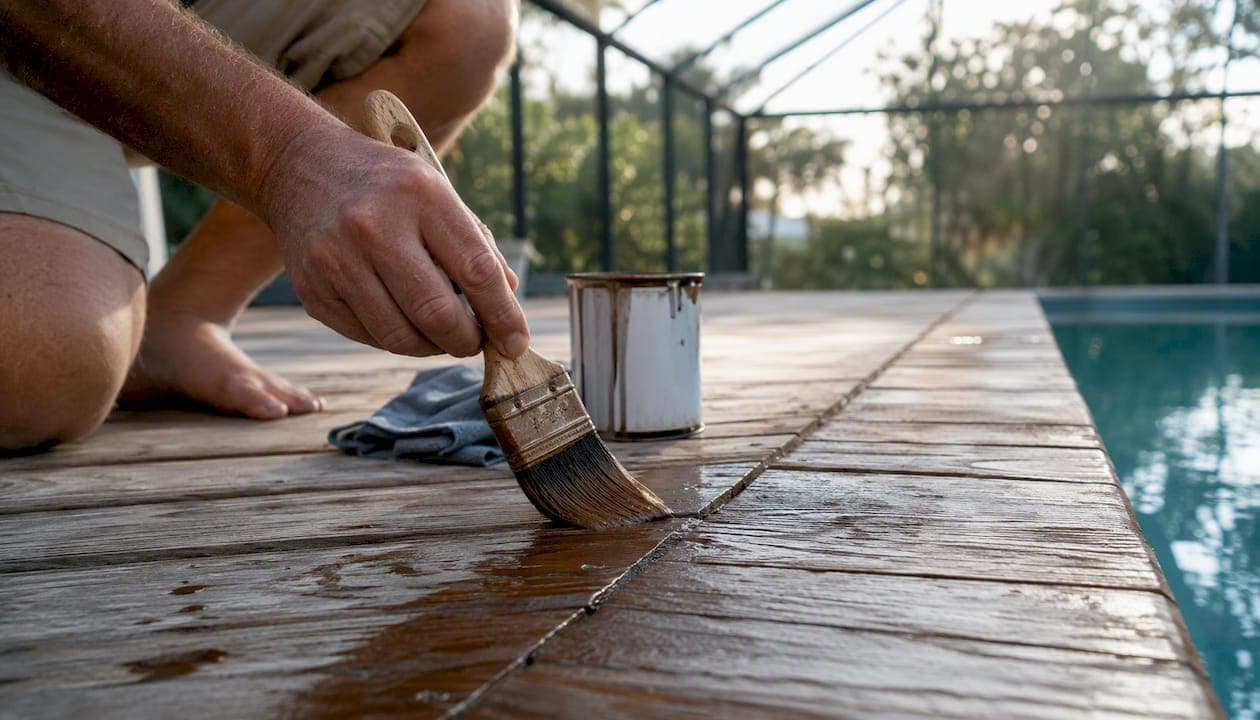
Most deck stains feel dry within a few hours, but "dry to the touch" and "fully cured" are two very different things. Water-based stains typically reach touch-dry within a few hours; oil-based stains take longer under good conditions. Full cure, the point where the stain has hardened enough to handle furniture and heavy use, can take up to 7 days for most products, and longer for some heavy-duty or film-forming finishes.
Here are some general conservative wait times to plan around:
- Touch dry: water-based stains dry faster than oil-based ones
- Light foot traffic: wait at least one to two days
- Replacing furniture or heavy items: wait at least two to three days; longer for solid-color or film-forming products
- Full cure for heavy-duty coatings: follow the product data sheet, as cure times can be significantly longer.
The one-line check: press your thumb firmly on a hidden board edge. If the surface feels tacky or leaves a print, it is not ready. Bare feet and rubber-soled shoes are the last things to go back on a freshly stained deck.
Table of Contents
- What affects how fast your deck stain dries and cures?
- Dry-to-touch and full-cure windows by stain type
- A homeowner's real-world cure timeline
- What to do when it rains or the stain stays tacky
- How to prep and apply stain so it cures right the first time
- When is the best time to stain your deck?
- Key Takeaways
- The part most homeowners get wrong about deck stain
- Mrpoolscreen handles deck staining so the cure goes right the first time
- Useful sources for product-specific dry and cure times
What affects how fast your deck stain dries and cures?
Several variables interact to determine whether your stain cures in 24 hours or drags on for days. Understanding them lets you read the quick verdict above and adjust it for your specific job.
Temperature and humidity are the biggest levers. Most stains perform best between 50°F and 90°F. Below 50°F, the curing chemistry slows sharply. Above 90°F in direct sun, you get the opposite problem: flash curing, where the surface dries so fast the stain never penetrates the wood fibers properly. High humidity (above 70–80%) slows evaporation for water-based products and can leave oil-based stains tacky for days longer than the label suggests.
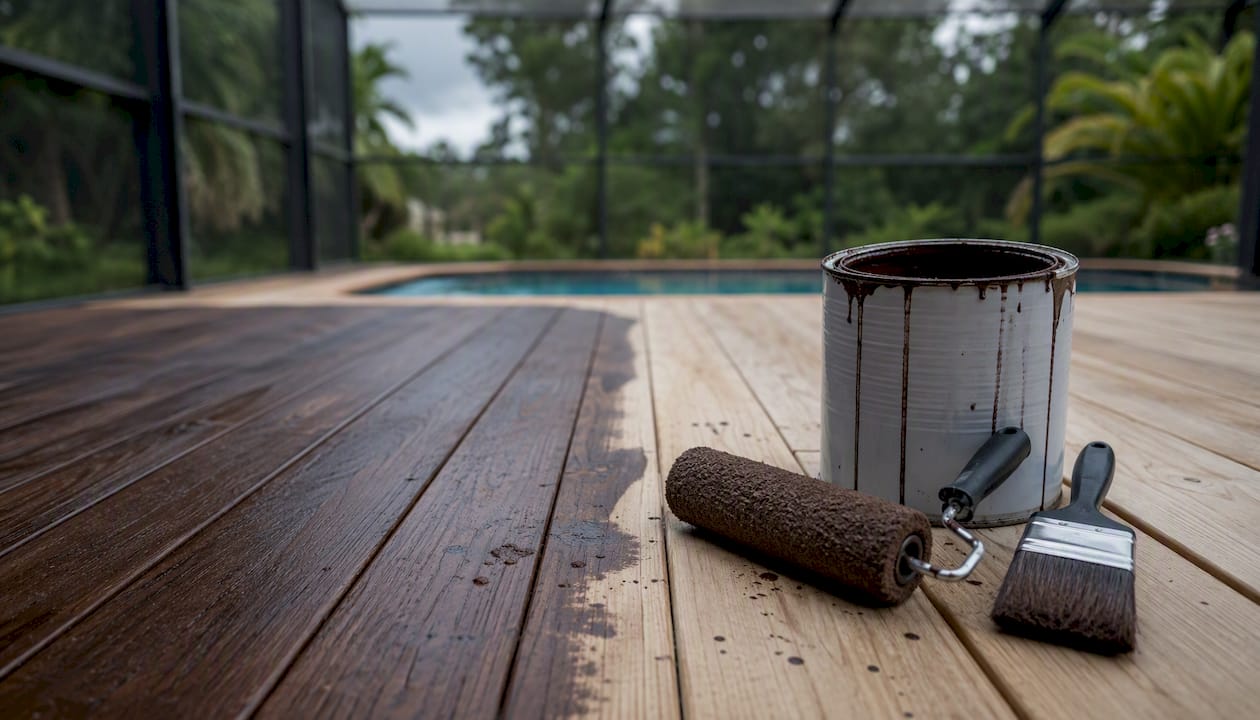
Stain chemistry matters just as much. Water-based acrylics cure primarily through water evaporation, so they respond quickly to warmth and airflow. Oil-based and alkyd stains cure through oxidation, a slower chemical process that humidity and cold can stall. Solid-color stains form a film on the surface rather than penetrating the wood, which means they need longer to harden fully. Penetrating oils work differently still: they absorb into the wood grain and cure from the inside out, so surface dryness is an especially unreliable signal for them.
Wood condition shapes the outcome before you open the can. Wood moisture content at or below 15% is the standard target for stain adhesion and penetration. Staining over damp wood traps moisture beneath the film, which causes bubbling, peeling, and dramatically extended cure times. Older, weathered wood tends to absorb stain faster than dense new wood, which can affect how many coats you need and how long each one takes to cure. Previous coatings that have not been fully removed will block penetration and create adhesion problems regardless of how long you wait.
Application variables are easy to overlook. Thick coats take longer to cure than thin ones, and a roller tends to leave a heavier film than a brush or pad. The number of coats compounds the timeline: each coat needs to reach the manufacturer's recoat window before the next goes on, and the final coat sets the cure clock.
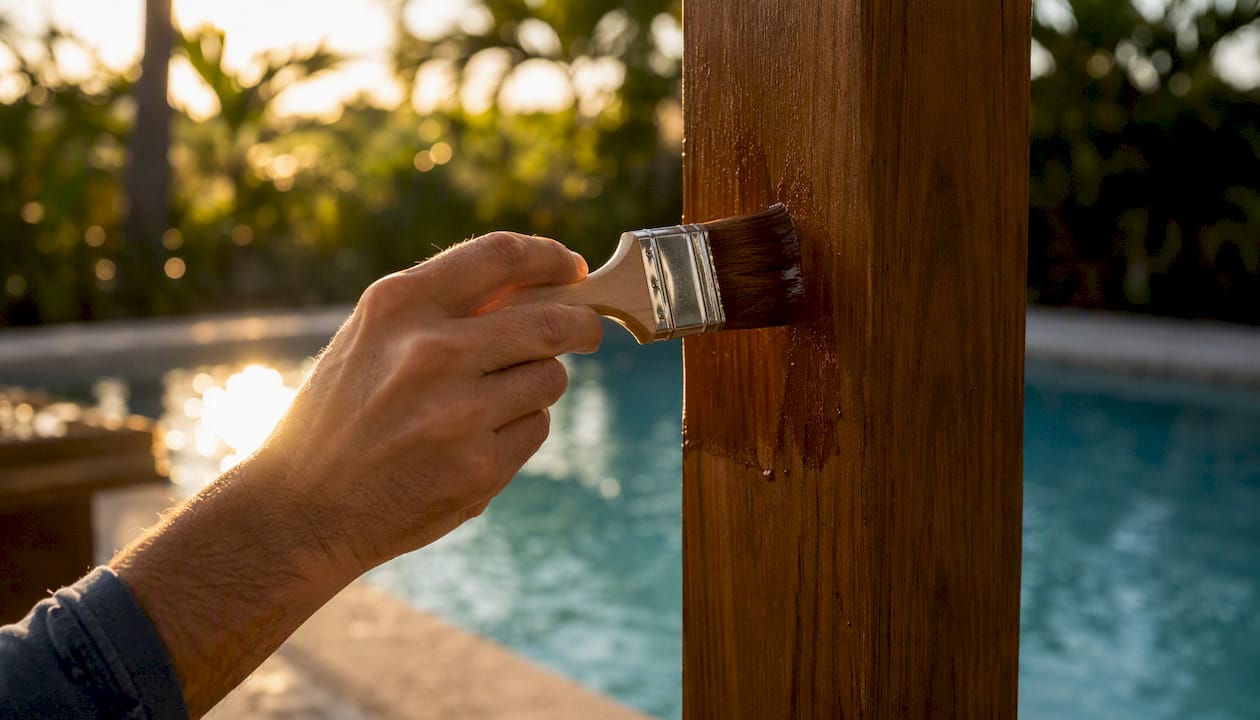
Pro Tip: Never stain in direct midday sun. Flash curing dries the surface before the stain can penetrate, leaving uneven color and a finish that peels prematurely. Work in the morning or late afternoon when the deck is in shade.
Dry-to-touch and full-cure windows by stain type
The table below uses manufacturer product data sheets and published guidance as the basis for each range. Conditions assume approximately 70–77°F and 50% relative humidity; colder or more humid conditions will push times toward the longer end.
| Stain family | Touch dry | Recoat window | Light foot traffic | Furniture return | Notes |
|---|---|---|---|---|---|
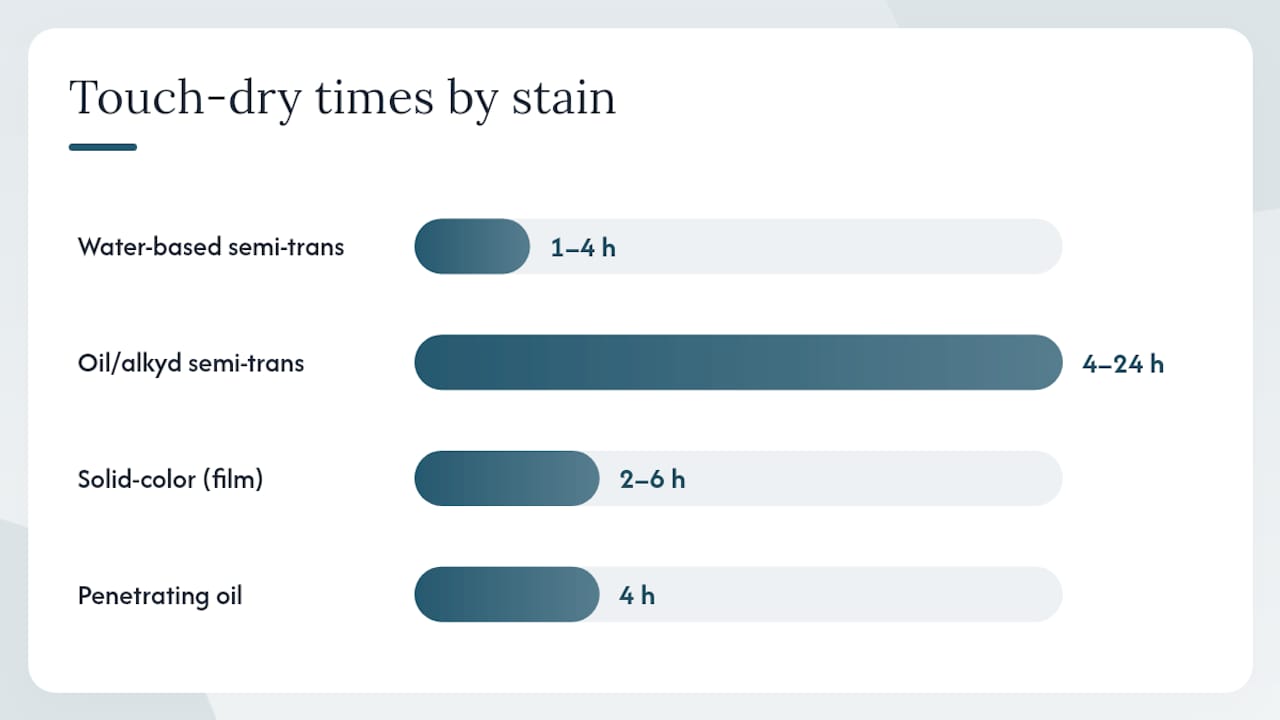
| Water-based semi-transparent | 1–4 hours | 4+ hours | 24–48 hours | 48–72 hours | Faster in warm, dry weather |
| Oil-based / alkyd semi-transparent | 4–24 hours | 24 hours | 24–48 hours | 48–72 hours | Humidity stalls oxidation cure |
| Solid-color (film-forming) | 2–6 hours | 24 hours | 24 hours | 48–72 hours | Thicker film; longer full cure |
| Penetrating oil / natural oil | 4 hours | 24–48 hours | 24–48 hours | 48–72 hours | Cure continues inside wood |
| Epoxy / sealer hybrid | 2–4 hours | Per label | 24 hours | 7 days | Longest full cure; chemical hardening |
A practical example: a water-based semi-transparent stain applied on a 75°F morning at 40% relative humidity will typically be touch-dry by early afternoon. You can walk on it carefully the next morning, but you should wait the full 48–72 hours before dragging chairs back onto the surface.
A Sherwin-Williams product data sheet for a waterborne semi-transparent stain lists touch-dry at 1 hour at 77°F and 50% RH, recoat at 4 hours minimum, and ready for use at 24 hours. That is a best-case scenario. Add humidity, lower the temperature by 15°F, or apply a second coat, and each window stretches.
Solid-color stains deserve a specific callout. Because they sit on top of the wood rather than soaking in, the full film needs time to harden. Rust-Oleum's technical data specifies 24 hours before light foot traffic, 48 hours before replacing furniture, and approximately 7 days to reach a hard finish. Epoxy-based pool deck coatings can run even longer.
A homeowner's real-world cure timeline
Manufacturer windows are best-case figures. Real decks, real weather, and real application conditions almost always push things toward the conservative end. Here is how to think about the two scenarios:
| Milestone | General best case | Conservative safe estimate |
|---|---|---|
| Touch dry | a few hours for faster stains | longer for slower stains |
| Light foot traffic | around one day | up to two days |
| Light furniture (chairs) | one to two days | two to three days |
| Heavy furniture / full use | up to 7 days | up to 7 days |
| Heavy-duty coatings (full cure) | up to 7 days | up to several weeks |
The gap between "dry to the touch" and "fully cured" is not just a technicality.
Chemical curing continues long after the surface stops feeling tacky. Walking on a stain that has only surface-dried can leave permanent scuff marks, compress the film before it hardens, and cause peeling within weeks. The surface being dry is not permission to use the deck — it is the beginning of the cure, not the end.
Three practical checks before restoring full use:
- Thumb-press test: press firmly on a low-visibility board edge. Any tackiness means more time is needed.
- Heel-squeeze test: stand on one foot in a corner. If the stain compresses or marks, wait another 24 hours.
- Spot test: place a small piece of furniture on a hidden area for an hour, then lift it. If it sticks or leaves a mark, the cure is not complete.
For heavy-duty coatings and epoxy products, some products specify up to 30 days before the surface reaches its rated hardness. That does not mean the deck is unusable for a month, but it does mean avoiding dragging furniture, dropping heavy objects, or pressure washing during that window.
What to do when it rains or the stain stays tacky
If rain hits within hours of staining
- Do not panic, but act quickly. If rain falls within 1–2 hours of application, the stain has not had time to penetrate or begin curing.
- Blot standing water gently with a clean cloth. Do not scrub or spread the wet stain further.
- Let the surface dry completely, which may take 24–48 hours depending on conditions.
- Inspect for water spots, streaks, or blotchy areas once dry.
- Lightly sand affected areas and reapply stain to those sections if the damage is localized.
- If rain falls after 4–6 hours on a water-based stain, the surface has likely set enough to survive light rain. Assess once dry before deciding whether to recoat.
If the stain stays tacky past the expected window
Persistent tackiness usually points to one of these causes:
- Too-thick application: excess stain sitting on the surface instead of penetrating
- High humidity or low temperature: both slow evaporation and oxidation
- Staining over damp wood: moisture below the surface prevents proper adhesion
- Incompatible previous coating: old sealer or paint blocking penetration
Diagnostic steps:
- Check current temperature and humidity. If conditions are marginal, wait another 24 hours before doing anything.
- Run a fan or open nearby windows to increase airflow over the surface. Move the deck into shade if direct sun is baking it unevenly.
- If tackiness persists beyond 72 hours past the manufacturer's stated cure window, the coat likely needs to be removed and reapplied.
For removal, a deck stripper or stain remover appropriate to the product type (water-based vs. oil-based) will lift the failed coat. Follow with a thorough rinse, allow the wood to dry to below 15% moisture content, and reapply in thinner coats.
Call a professional when: tackiness is widespread across the whole deck, you see peeling or bubbling in addition to stickiness, or you suspect the substrate itself is contaminated (mold, previous sealer incompatibility, or chemical residue). Large-scale failures are rarely fixed by waiting longer.
How to prep and apply stain so it cures right the first time
Good prep eliminates most cure problems before they start.
Prep checklist:
- Clean the deck thoroughly: remove dirt, mildew, and grease. A mildew removal step before staining prevents the stain from sealing biological growth into the wood.
- Sand rough or splintered boards with 80-grit paper and sweep clean.
- Check wood moisture content with an inexpensive pin-type moisture meter. The target is 15% or below. If the reading is higher, wait and recheck in 24–48 hours.
- Remove any previous coating that is peeling, flaking, or incompatible with the new product.
- Repair damaged boards before staining, not after.
Application checklist:
- Apply thin, even coats. A thin coat penetrates better and cures faster than a thick one.
- Use a brush or pad rather than a roller for semi-transparent and penetrating stains. Rollers apply too much product and leave a heavier film.
- Back-brush immediately after applying. Back-brushing forces wet stain into the wood grain, producing more even penetration and reducing the risk of surface failure. It is a standard technique among professional applicators for a reason.
- Work in manageable sections and maintain a wet edge to avoid lap marks.
- Follow the label's recoat window exactly. Applying a second coat before the first has dried sufficiently traps solvent and extends cure time unpredictably.
Pro Tip: Sherwin-Williams recommends avoiding staining in direct sunlight and checking the forecast for at least 24 hours of dry weather after application. Keep the product data sheet from every can you use — it documents the exact cure conditions and is your reference if a warranty question comes up later.
When is the best time to stain your deck?
Timing the job well is half the battle. The ideal window is a multi-day stretch with no rain in the forecast, temperatures between 50°F and 90°F, and moderate humidity.
Season and temperature guidance:
- Late spring, summer, and early autumn offer the most reliable conditions in most U.S. regions.
- Plan for a multi-day dry stretch with temperatures consistently in the 50–90°F range.
- Never stain below 35°F. Curing chemistry essentially stops, and the stain may never harden properly.
- Surface temperature often lags behind air temperature in the morning. Professionals verify that both air and substrate temperatures are at least 5°F above the dew point before starting. Ignoring this causes immediate adhesion failure on cool, dewy mornings.
Best time of day:
- Early morning or late afternoon, once the deck surface is dry from overnight dew.
- Avoid midday when direct sun heats the boards above 90°F. Flash curing at that temperature prevents penetration and leaves an uneven finish.
- Follow the shade: start on the side of the deck that is shaded in the morning and move with the sun.
Pre-staining weather checklist:
- No rain forecast for at least 24–48 hours after application (48 hours is safer for oil-based products)
- Air temperature between 50°F and 90°F for the full cure window
- Relative humidity below 70%
- Surface temperature at least 5°F above the dew point
- Light wind is fine; strong wind accelerates flash curing on exposed boards
If you are working in a marginal window (temperatures near 50°F or humidity above 60%), apply thinner coats, work in shaded sections only, and postpone if precipitation is likely within 24 hours. A delayed start costs nothing; a failed coat costs time, product, and effort to strip and redo.
Key Takeaways
Deck stain cure time runs from a few hours to touch-dry up to 7 days for full hardness, and skipping the wait causes peeling, scuffs, and adhesion failures that require stripping and reapplication.
| Point | Details |
|---|---|
| Touch dry vs. fully cured | Touch dry in 1–24 hours depending on type; full cure takes up to 7 days or more. |
| Safe wait times | Allow 24–48 hours for light foot traffic and 48–72 hours before returning furniture. |
| Wood moisture matters | Check moisture content before staining; the target is 15% or below for proper adhesion. |
| Weather window | Stain between 50°F and 90°F with no rain forecast for at least 24–48 hours after application. |
| Mrpoolscreen's approach | Mrpoolscreen checks moisture, preps the surface, and applies industrial-grade coatings on pool deck staining jobs in Central Florida. |
The part most homeowners get wrong about deck stain
The conventional advice is to wait for the label's stated dry time and then get back to normal. That advice is incomplete, and it causes most of the peeling and scuffing complaints I hear about.
The label's dry time is a minimum under ideal conditions. It assumes 70–77°F, around 50% relative humidity, a single thin coat, and properly prepped dry wood. Almost no real deck job hits all four of those conditions simultaneously. Central Florida summers add high humidity to the equation. A deck that sat through a rainy week before staining will have moisture content well above 15% unless you waited and tested. A second coat applied before the first fully dried compounds both problems.
What actually matters is the cure, not the clock. The thumb-press test and the heel-squeeze test tell you more than the label does, because they respond to your actual conditions rather than a lab average. I have seen decks that were technically past the 48-hour furniture window still leave marks under a chair leg because the applicator ran two heavy coats in humid weather. The stain was not cured. The clock said it was.
The other underestimated factor is prep. Back-brushing is the single most skipped step in DIY staining, and it is the one that most directly affects how well the stain cures and how long it lasts. Forcing wet stain into the grain is not optional for penetrating products. It is the mechanism by which the product works.
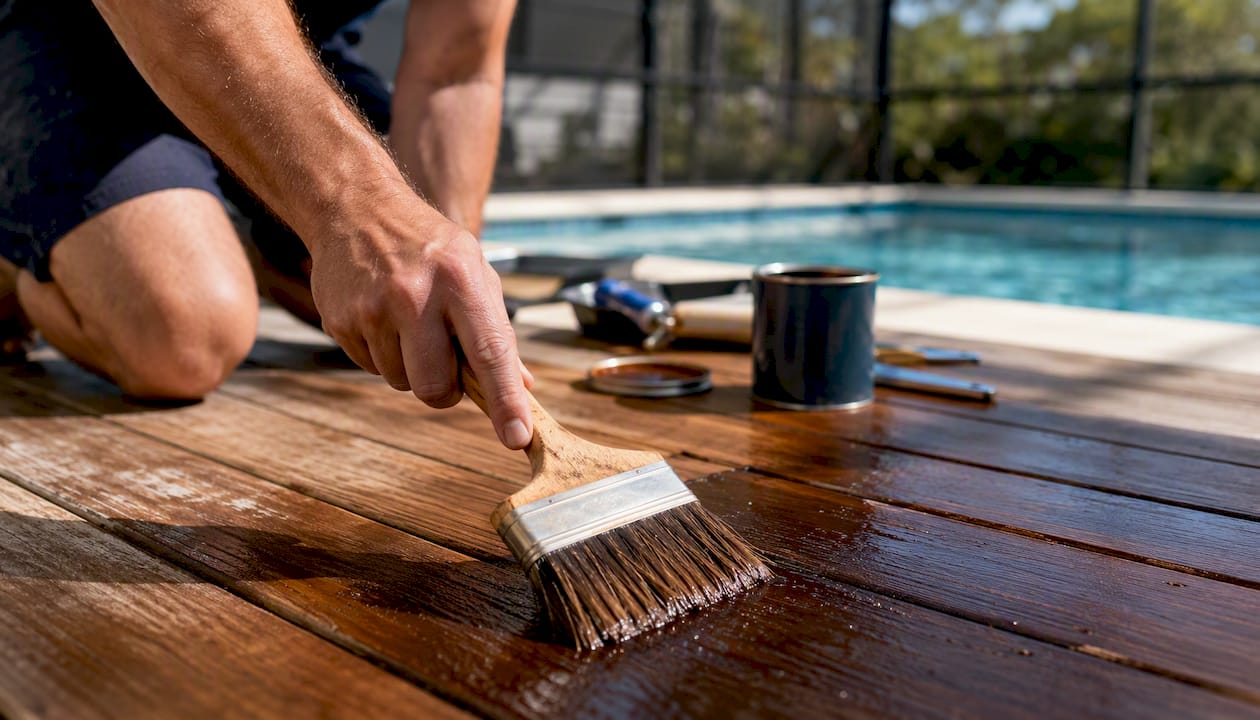
If you are staining a pool deck specifically, add one more variable: pool splash and chemical exposure accelerate surface wear on any coating that has not fully cured. Waiting up to 7 days before the pool area returns to normal use is not overcautious. It is the minimum for a finish that will last more than one season.
Mrpoolscreen handles deck staining so the cure goes right the first time
Deck staining around a pool is not the same as staining a backyard deck. Splash zones, chemical exposure, Florida humidity, and the proximity of screen enclosure hardware all create conditions where a DIY application is more likely to fail prematurely. Mrpoolscreen's pool deck staining and restoration service covers concrete, wood, masonry, and stone surfaces in Central Florida, and every job starts with a moisture check and surface inspection before a drop of product goes down.

The process includes full prep (cleaning, mildew removal, repair, and moisture verification), product selection matched to the substrate and exposure conditions, and application using industrial-grade water-based acrylic coatings. Homeowners who have dealt with a tacky, peeling, or blotchy finish from a previous DIY attempt know how much time and money a failed coat costs. Mrpoolscreen's restoration approach addresses the substrate first, which is why the finishes hold.
See completed projects in the project gallery or request an estimate through the restoration service page to get a professional assessment of your deck's condition and a clear scope of work.
Useful sources for product-specific dry and cure times
The figures in this article reflect published manufacturer data and independent research. For the specific product you are using, always confirm times on the product label and the manufacturer's technical data sheet (PDS). Here is where to look:
- Product label (first stop): lists safe recoat windows, minimum dry times, and temperature/humidity limits. Keep it until the job is fully cured.
- Manufacturer PDS: the technical document behind the label. It gives precise dry-to-touch, recoat, and full-cure windows by temperature and humidity condition. Most manufacturers post these as PDFs on their websites.
- How Long Does It Take for a Deck Stain to Dry? (Deck Stain Help) — practical breakdown of touch-dry vs. cure windows with type-by-type guidance.
- How to Apply Deck Stain (Sherwin-Williams) — manufacturer guidance on application conditions, flash curing, and label-first advice.
- How Long Does Deck Stain Need to Dry? (Trex Protect) — solid-color stain behavior and seasonal scheduling guidance.
- Moisture Content of Deck When Applying Stain (Deck Stain Help) — explains the 15% moisture threshold and how to test for it.
- Pro Tips for Understanding Curing vs. Drying (Inseco Products) — explains why chemical cure continues after the surface feels dry.
If a warranty question ever comes up, the PDS you saved from the original application is your documentation. Manufacturer warranties typically require application within the stated temperature and humidity ranges, and a missing PDS makes that claim harder to support.