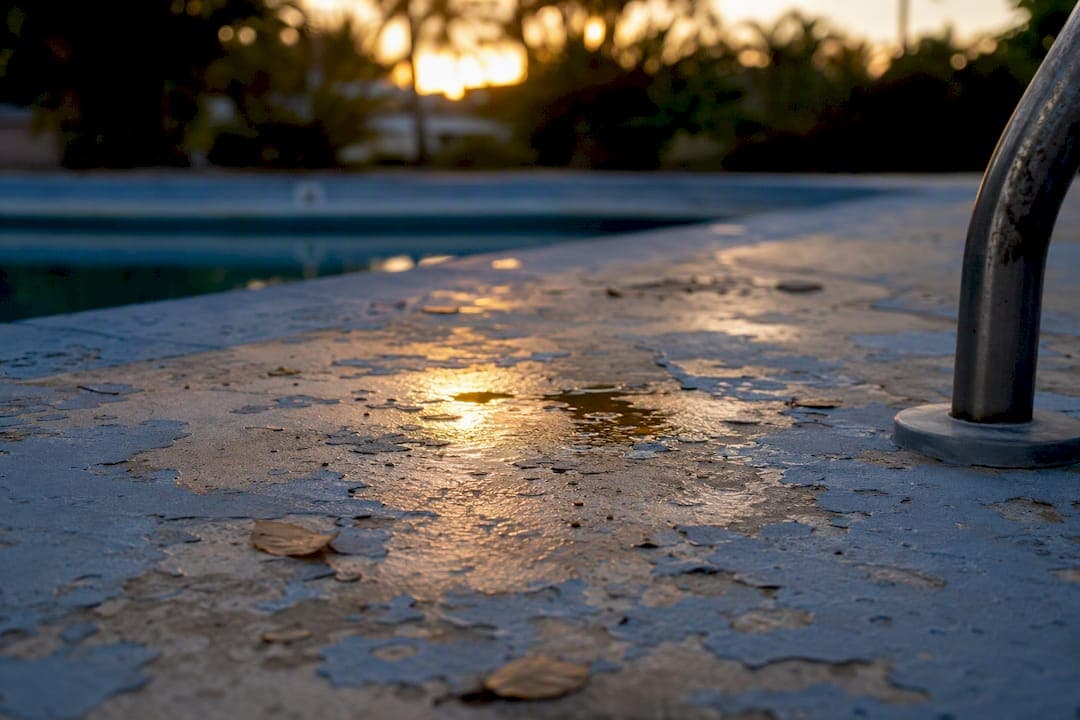
Most pool deck paint that peels is failing for one of three reasons: trapped moisture pushing up from below, an incompatible coating layered on top of the wrong base, or a topcoat applied without proper surface prep. It's rarely "bad paint." Before you buy another gallon, stop and diagnose the problem, because painting over an adhesion failure just buys you a repeat performance in twelve months.
Do this first:
- Remove loose flakes with a scraper and stop painting any further until you know why the old coating let go.
- Run a tap test across the deck, tapping with a screwdriver handle or coin. A hollow or dull sound means the coating (or the concrete beneath it) has separated from the slab, and that area needs more than a patch.
Check high-splash zones near steps and the pool's edge first. These areas hold moisture longest and peel first, giving you an early read on how widespread the problem really is.
Key Takeaways
Pool deck paint peels when trapped moisture, incompatible coatings, or poor surface prep prevent proper adhesion, and fixing it requires diagnosis before repainting.
| Point | Details |
|---|---|
| Diagnose before you repaint | Run a tap test and check for hollow sounds before buying any new coating. |
| Moisture is the top cause | Trapped vapor beneath a sealed coating causes most blistering and peeling. |
| Compatibility failures happen fast | Mismatched coating chemistries can peel within weeks, not years. |
| Test patches save money | Paint a small test area and wait 48 hours before committing to the full deck. |
| Call a pro for widespread failure | Mrpoolscreen uses moisture testing, diamond grinding, and breathable acrylic systems for repairs that hold up long term. |
Table of Contents
- Why Pool Deck Paint Peeling Happens
- Spotting the Difference Between Wear and Failure
- Should You DIY This or Call a Pro?
- How to Repair Peeling Pool Deck Paint Yourself
- When a Professional Restoration Makes More Sense
- Picking a Finish That Won't Peel Again
- Keeping a New Coating From Peeling Again
- What to Expect: Timeline and Cost
- What I've Learned Watching Decks Fail and Succeed
- How Mr. Pool Screen Handles Deck and Enclosure Restoration
- Sources
Why Pool Deck Paint Peeling Happens
Concrete is porous, and pool decks sit in one of the wettest environments on your property. Water splashes onto the surface, soaks in, and then tries to escape through evaporation. When a paint film seals the top of that concrete without letting vapor pass through, the moisture has nowhere to go. It collects right beneath the coating, and that trapped moisture is what causes most pool deck paint to blister and peel in the first place. In slabs with a high water table or poor drainage nearby, hydrostatic pressure pushes that moisture upward with enough force to lift an entire sheet of coating at once, not just a few flakes.
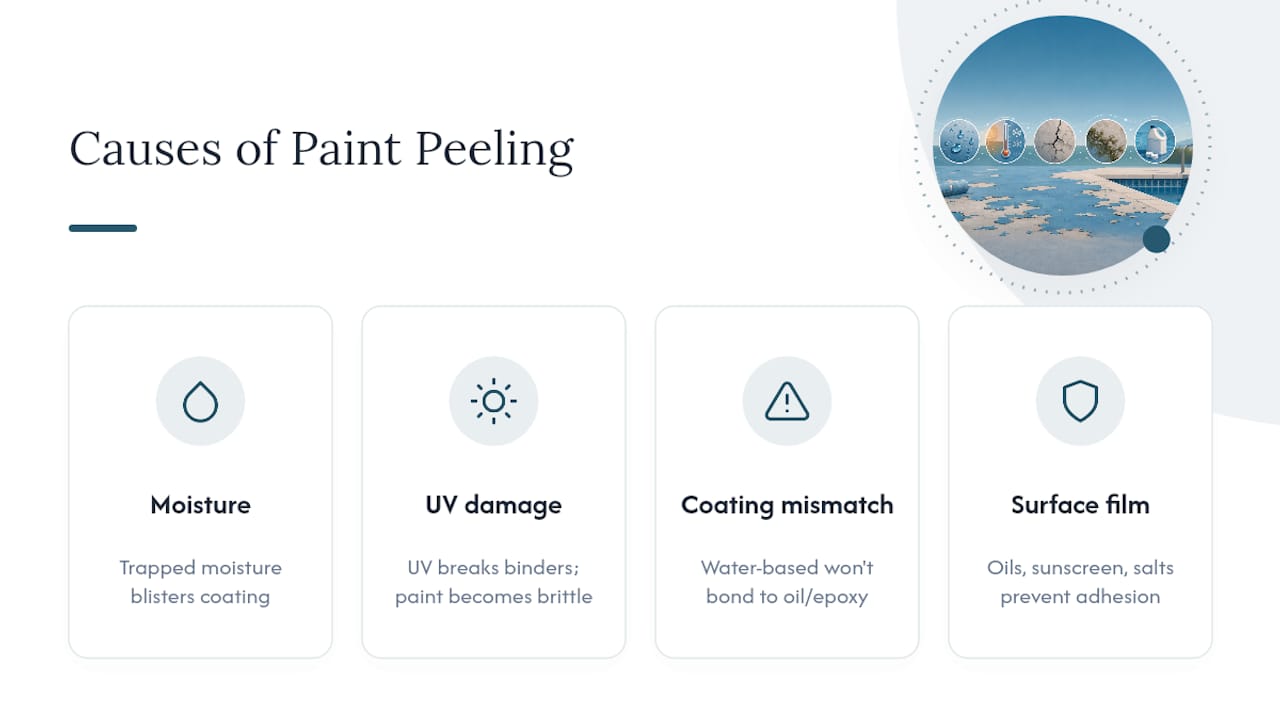
Sunlight is the second attacker. Florida decks take direct UV exposure for most of daylight hours, and that ultraviolet radiation breaks down the polymer binders that hold a paint film together. A coating that's been chalking or fading for a year or two is already brittle before the moisture problem even shows up. Combine embrittled paint with expanding vapor underneath, and you get peeling that looks sudden but has actually been building for months.
Then there's the compatibility problem, which catches more homeowners off guard than anything else on this list. If your deck already has an oil-based or epoxy coating on it and you roll on a water-based acrylic without stripping or properly prepping first, the two chemistries won't bond, and the new layer can start lifting within weeks rather than years. This is the single most common reason a fresh paint job fails almost immediately instead of degrading gradually.
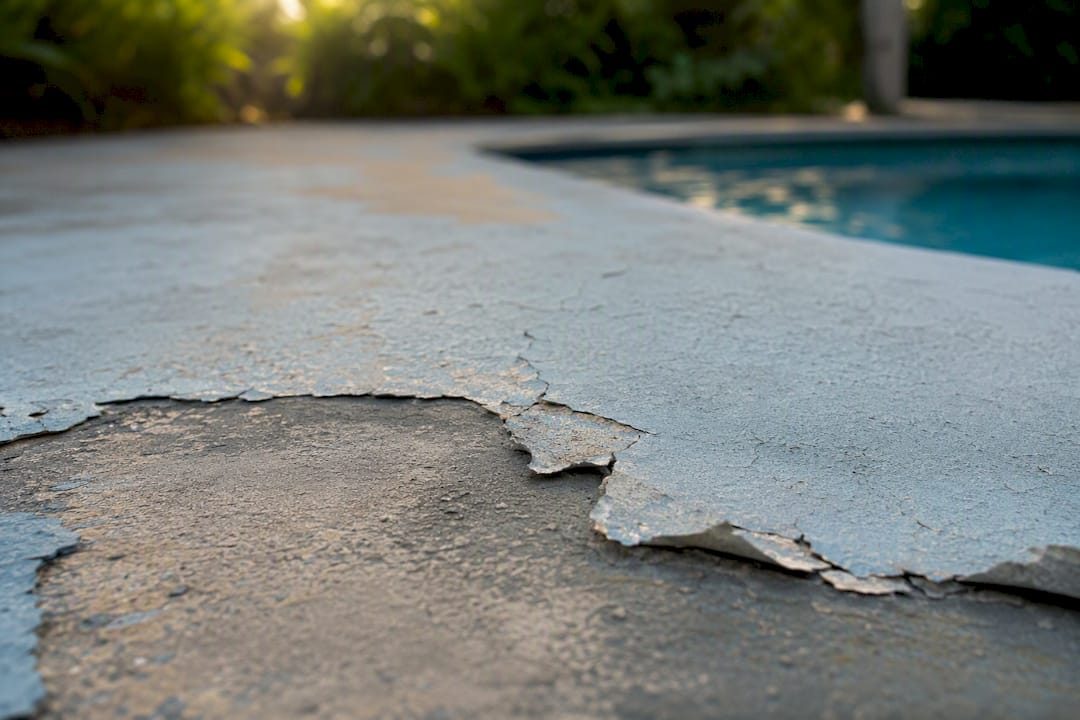
Surface contamination compounds all of it. Sunscreen, body oils, pool chemicals, and mineral salts from splash-out leave a film on concrete that no coating will grip. Add a lack of mechanical profile (that slightly rough "tooth" concrete needs for paint to key into) and you've got a surface engineered to shed paint, even a high-quality one, within a season or two.
Spotting the Difference Between Wear and Failure
Not every rough patch on your deck means a full teardown. Here's how to sort a cosmetic issue from a structural one:
- Look at the pattern first. Peeling in large sheets or bubbling blisters signals moisture or adhesion failure. Fading and chalking (a powdery residue on your hand when you wipe the surface) usually just means UV wear, which is cosmetic.
- Check for isolated wear paths. Slippery, worn spots concentrated where people walk from the pool to the patio are typically friction and chemical wear, not delamination, and often respond to a simple recoat.
- Do the tap test in several spots. Hollow or dull sounds mean the coating has separated from the slab underneath, not just from itself.
- Probe the edge of a peeling flake with a flathead scraper. If it lifts easily in a continuous sheet, adhesion has failed across a wider area than what's visibly peeling.
- Call in a moisture test if you're still unsure. A calcium chloride test or plastic sheet test (taping clear plastic to the concrete overnight and checking for condensation) confirms whether vapor transmission is the underlying driver, and a professional adhesion check settles it if the DIY signs are ambiguous.
Should You DIY This or Call a Pro?
Small, isolated peeling on a deck with a known, single coating history is a reasonable DIY project. Widespread delamination, an unknown coating history, or any hint of moisture pushing through the slab is a different situation entirely, and that's where a lot of homeowners lose money repeating the same mistake twice.
Run through this before you buy materials:
- Size and pattern of the damage. A few peeling spots under 10 square feet total is manageable. Peeling across multiple large sections usually points to a slab-wide moisture or compatibility issue.
- Coating history. If you don't know what's currently on the deck, or if it's had multiple paint jobs over the years, you're at real risk of applying an incompatible product on top of an incompatible layer.
- Tools and skill required. A basic DIY repair needs a pressure washer, a hand or random-orbit sander, possibly a chemical stripper, and real personal protective equipment, gloves, eye protection, and a respirator if you're using solvent-based strippers.
- Red flags that mean call a pro. A positive moisture test, evidence of three or more prior coating layers, or hollow-sounding areas larger than a few square feet all suggest the repair needs mechanical grinding and system-level expertise, not a weekend fix.
If any of those red flags apply, the DIY math stops working in your favor. You'll spend a weekend and a few hundred dollars on materials only to watch the new coating fail again within a year.
How to Repair Peeling Pool Deck Paint Yourself
If your situation checks out for a DIY repair, the sequence matters more than the products you buy. Skip a step here and you're just delaying the next round of peeling.
- Protect the pool and prep your workspace. Cover or close the pool if you're using a pressure washer or chemical stripper nearby, and keep pets and kids off the deck during the work.
- Remove all loose coating. Start with a pressure washer at a wide-fan setting to knock off anything already lifting. For stubborn or multi-layer coatings, a paste-based chemical stripper works better than a liquid one because it stays put on a vertical or sloped surface long enough to soften the film. Always neutralize the stripper per the manufacturer's instructions and rinse thoroughly before moving on.
- Profile the surface. Light peeling on an otherwise sound slab usually just needs hand or orbital sanding to rough up the surface. Widespread delamination or multiple failed coats calls for mechanical grinding, which removes weak material and cuts a consistent profile the new coating can actually grip.
- Patch cracks and low spots. Use a polymer-modified patching compound, not a straight cement patch, since polymer additives give the filler flexibility that matches concrete's natural movement. Feather the edges out with a trowel so the patch doesn't leave a visible ridge once painted.
- Prime with the right product. On a deck with any moisture history, correct repair sequencing includes a compatible primer before the topcoat goes on, not skipping straight to paint. Choose a breathable primer if there's any chance vapor is still moving through the slab.
- Apply a breathable topcoat. Acrylic pool deck coatings that allow vapor to pass through outperform sealed, impermeable films on moisture-prone slabs. Watch the application conditions: most coatings need surface and air temperatures in a specific range and low humidity to cure properly, and rushing this step is one of the most common DIY mistakes.
- Let it cure fully before use. Walking or splashing water on a coating before it's cured reintroduces the exact vapor problem you just fixed.
- Do a final adhesion check. Once cured, press a piece of tape firmly onto a test spot and pull it. If the coating comes up with the tape, something in the process didn't bond, and you'll want to address it before opening the deck back up to full use.
Pro Tip: Always paint a test patch first, roughly a two-foot square in an inconspicuous corner, and leave it for 48 hours before committing to the whole deck. This single step catches compatibility failures before they cost you an entire weekend and a full can of coating.
When a Professional Restoration Makes More Sense
Diagnostics separate a professional job from a DIY guess. Before touching a deck, restoration crews test for moisture and confirm adhesion across the slab, because identifying substrate material and coating history first, and running a small compatibility test area, avoids committing to a system that fails on contact.
Mechanical prep is where the real difference shows up. Diamond grinding both strips weak material and cuts a consistent surface profile, the microscopic roughness a coating needs to mechanically key into concrete rather than just sit on top of it. A pressure washer and a hand sander can't replicate that profile on a slab with years of buildup or multiple failed coats.
Professionals also match the coating system to the diagnosis instead of grabbing whatever's on the shelf:
- Engineered primers built for moisture-prone slabs go down first, formulated to bond even when some residual dampness is present.
- UV-stable, breathable topcoats replace the sealed films that trap vapor in the first place.
- Crack repair and texture matching get handled in the same pass, so patched areas blend rather than stand out as an obvious repair.
- On enclosed pool decks, stainless steel or Nylotech fasteners replace corroded hardware so the surrounding screen structure isn't quietly rusting while the deck gets attention.
A quick tap test before hiring anyone can save real money. Sounding the deck for hollow spots tells you whether you're looking at a one-day touch-up or a full resurfacing job, and it's worth doing yourself before a contractor even shows up so you can ask informed questions.
Picking a Finish That Won't Peel Again
Single-component paint is the cheapest option at the hardware store, and it's also the shortest-lived in a pool environment. Constant moisture, chlorine exposure, and UV degrade basic paint faster than almost any other application on your property, and you're often looking at recoating every one to two years.
Engineered acrylic coatings cost more upfront but hold up considerably longer. They're formulated specifically for exterior concrete exposed to water and sun, with better UV resistance and, critically, better vapor permeability than standard paint.
Polymer-modified overlays and textured systems sit at the top of the range. They cost the most per square foot but deliver the longest service life and the best traction underfoot, which matters more than most homeowners realize until someone slips on a smooth, wet surface near the pool's edge. If a slippery deck is part of what's driving this repair, it's worth addressing traction and coating longevity in the same project rather than treating them separately, since texture additives and finish choice go hand in hand.
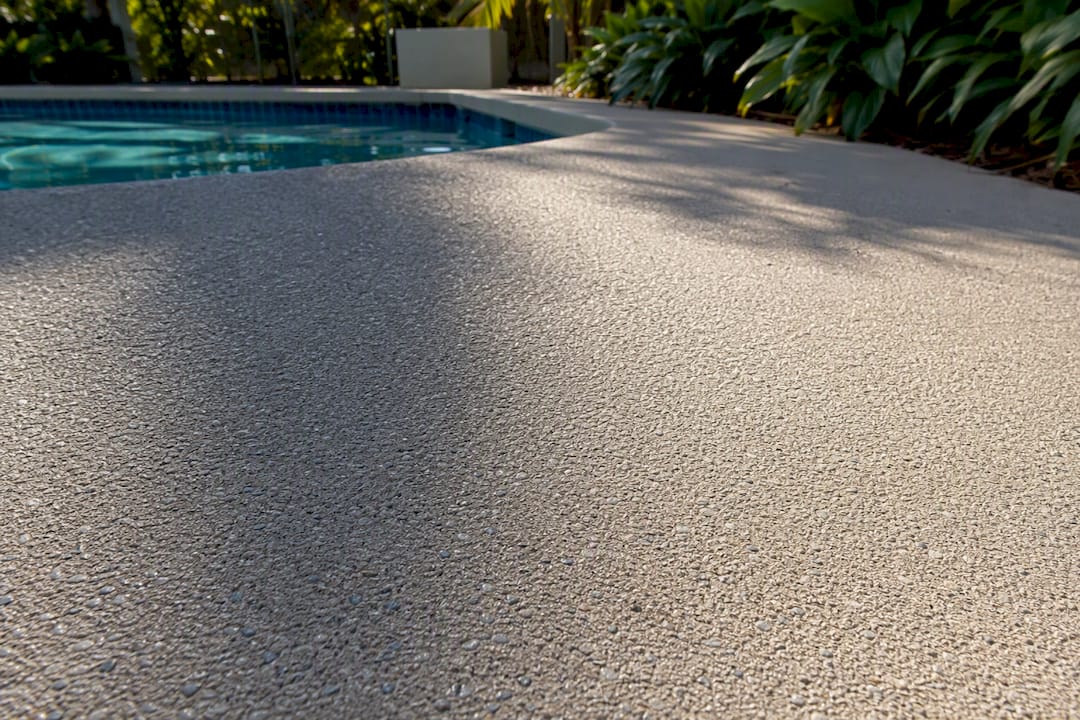
Whatever you choose, breathability matters more than the marketing on the can. A film that lets vapor escape resists blistering even on slabs with some ongoing moisture movement, while a fully sealed coating is a peeling problem waiting to happen.
Keeping a New Coating From Peeling Again
A new coating is only as good as what you do to it afterward. A few habits make the difference between a finish that lasts five years and one that's blistering again in eighteen months:
- Fix drainage issues around the deck. Standing water, potted plants sitting directly on the surface, and downspouts draining onto the deck all feed the moisture problem that started the peeling in the first place.
- Keep pool chemistry balanced. Aggressive splash-out from imbalanced water carries salts and chemicals onto the deck surface, where they slowly break down the coating.
- Clean and inspect regularly. A quick rinse to remove sunscreen residue and debris, plus a seasonal walk-around checking for early bubbling or chalking, lets you catch problems while they're still a spot repair.
- Recoat on a schedule, not on failure. Basic paint typically needs attention every one to two years, while a quality acrylic system can often go three to five years before a fresh coat is due, depending on sun exposure and traffic.
What to Expect: Timeline and Cost
A DIY spot repair usually runs one full weekend, including a day for removal and prep and a second for patching, priming, and a first coat, plus several days of cure time before regular pool use resumes. Professional jobs run on a longer calendar: diagnostics and prep typically take a day or two, followed by grinding, patching, and a multi-coat application with cure windows between steps.
On cost, DIY spot repairs generally land in the low hundreds of dollars for materials. Basic professional resurfacing costs more but comes with warrantied labor, and a premium engineered system with textured overlay sits at the top of the range. For a fuller breakdown by project scope, a detailed cost guide is worth reviewing before you get quotes.
What I've Learned Watching Decks Fail and Succeed
The mistake I see repeated most often is homeowners repainting the same failure twice, using the same process, and expecting a different result. Peeling paint is a symptom, not the disease. The habit that actually prevents repeat failures is dead simple: test a small patch, wait 48 hours, and only then commit to the whole deck. It costs you almost nothing and it catches the compatibility failures that ruin an entire weekend.
— Michel
How Mr. Pool Screen Handles Deck and Enclosure Restoration
If your tap test came back hollow in more than a couple of spots, or the peeling covers a large section of the deck, that's usually past the point where another can of paint fixes anything. Mrpoolscreen approaches this the way the diagnostics above suggest it should be handled: moisture and adhesion testing first, then mechanical prep, not a fresh coat rolled over an unresolved problem.

The process starts with identifying what's actually happening beneath the surface, then moves to proper mechanical preparation, patching with polymer-modified materials, and finishing with breathable, UV-stable acrylic coatings matched to your slab's condition and texture. On enclosed pool decks, corroded hardware gets swapped for stainless steel or Nylotech fasteners as part of the same visit, so you're not paying for a beautiful deck under a rusting screen structure. Call for a diagnostic if you've got a positive moisture reading, delamination across multiple areas, or a deck that's simply had one too many failed paint jobs. You can see completed jobs in the project gallery or get a read on your specific situation through the pool deck restoration service page.
Sources
For code-related safety questions on pool decks and enclosures, the Uniform Swimming Pool, Spa and Hot Tub Code and Martha Stewart's peeling paint guide offer additional detail, along with a partner guide on surface restoration for pool and stone finishes.
- Why Pool Deck Paint Peels So Fast (And What Lasts Longer) - B&D Pools
- How to Prevent Pool Deck Coating Failure in Sarasota, FL - U Plus Me
- Why 80% of Pool Paint Jobs Fail Within 2 Years (And How to Avoid It) - The Paint People
- Rapidrepair
- 6 Best Pool Deck Paint Strippers For Old Coatings Tested - Swimmer Living