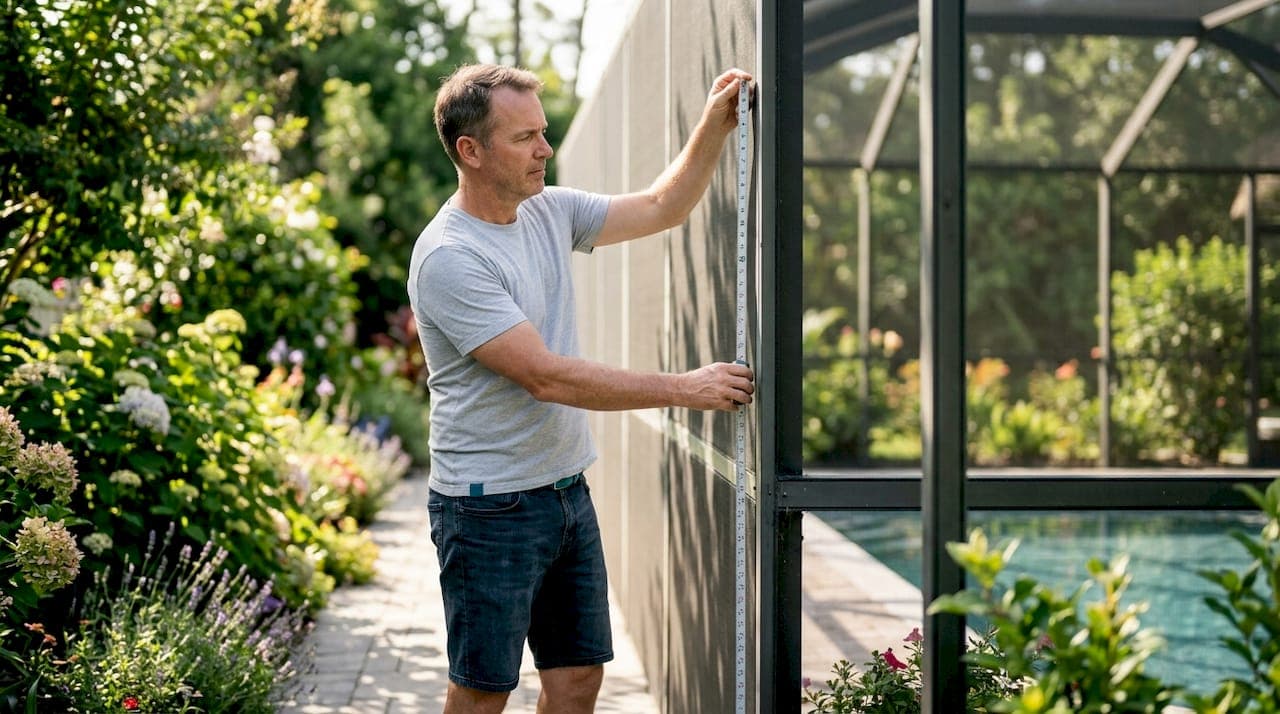
A pool enclosure safety inspection is defined as a structured evaluation of your barrier's height, gap sizes, gate mechanics, and structural integrity to confirm compliance with codes like the International Swimming Pool and Spa Code (ISPSC) and IRC R4501. These standards exist because a non-compliant enclosure creates real drowning risk and can trigger homeowners insurance cancellation. A standard inspection takes 45–90 minutes and follows a nine-step process covering every physical element of the barrier. Knowing the pool enclosure safety inspection steps before an official visit puts you in control of the outcome.
What tools and prep work do you need before inspecting?
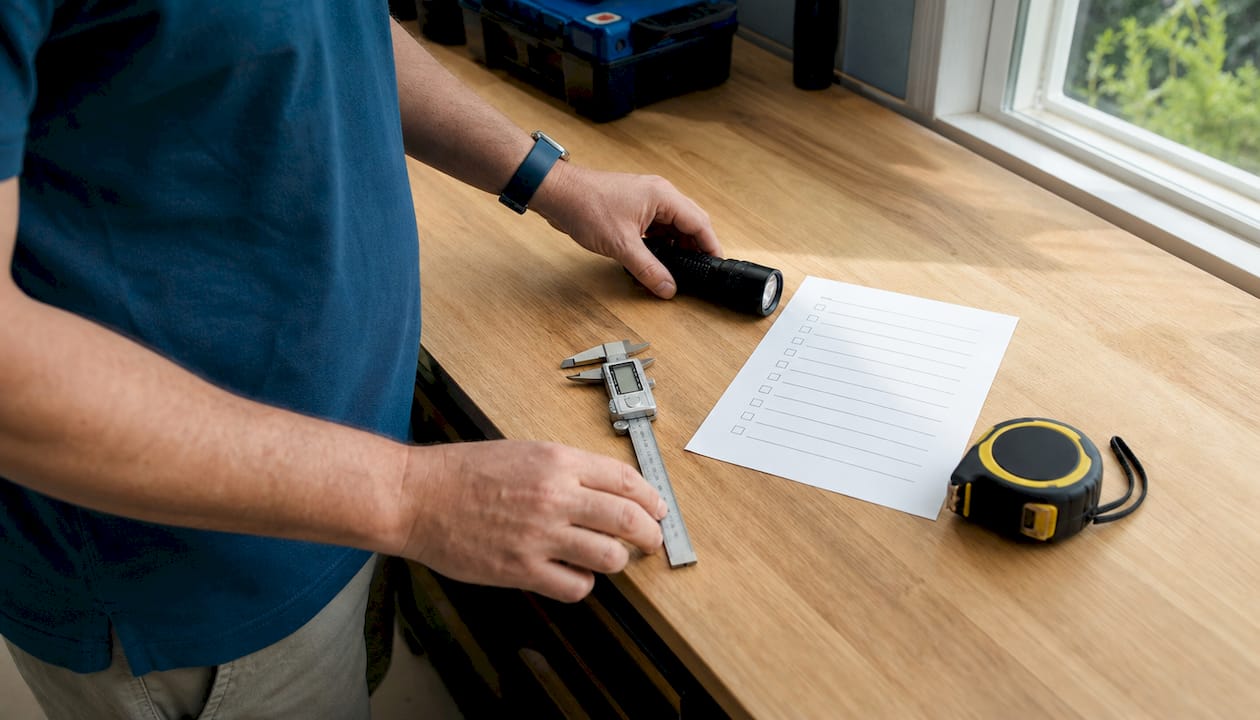
Preparation determines whether your inspection goes smoothly or stalls on avoidable issues. Gather a tape measure, a 4-inch diameter sphere or rigid gauge, a notepad or printed checklist, and a camera or phone for photos. These tools cover every physical test an inspector will run.
Before you touch a single panel, pull your local permit records and review your municipality's specific code amendments. The ISPSC sets a national baseline, but many local rules impose stricter standards, including wind load resistance, alarm requirements, and specific latch designs. Florida counties, for example, often exceed the federal minimums on gate hardware.
Walk the perimeter once before measuring anything. Look for obvious damage: bent frames, torn screen panels, rust stains at fastener points, or sections that have shifted out of plumb. This preliminary visual pass tells you where to spend extra time during the formal assessment.
- Tape measure (at least 6 feet)
- 4-inch rigid sphere or gauge
- Printed inspection checklist
- Camera or smartphone for documentation
- Copy of local pool barrier code or permit conditions
Pro Tip: Download your county's specific pool barrier ordinance as a PDF before you start. Local amendments override the ISPSC in every jurisdiction, and inspectors cite local code, not the national standard.
How to perform a step-by-step barrier assessment
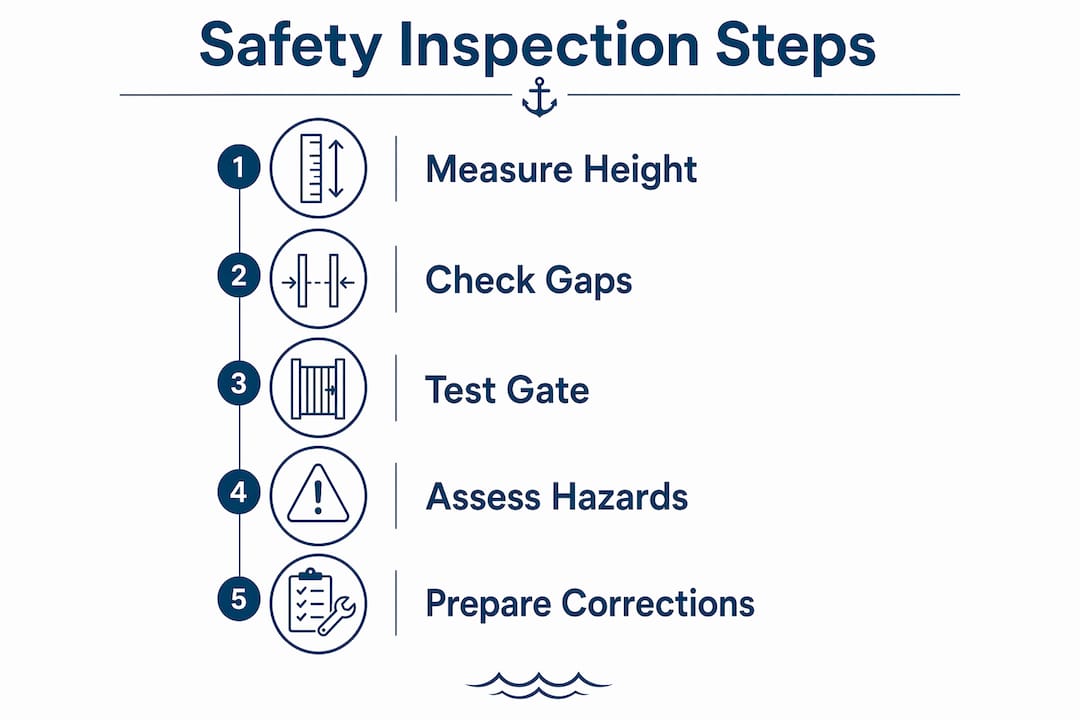
The barrier assessment is the core of the inspection process. Work through it in a fixed sequence so nothing gets skipped.
-
Walk the full perimeter. Move around the outside of the enclosure and look for any section that is missing, damaged, or visibly out of alignment. Note every problem location before measuring.
-
Measure barrier height. Use your tape measure at multiple points, not just one. Height is measured from the exterior ground level to the top of the barrier. Most residential codes require a minimum of 48 inches, but some jurisdictions require 60 inches or more. Public pools require 72-inch barriers under IBC 3109, so confirm which standard applies to your property.
-
Run the 4-inch sphere gap test. The 4-inch sphere rule mandates that no opening in the barrier can allow a 4-inch diameter sphere to pass through. Test every vertical slat gap, decorative opening, and panel joint. This rule catches the most common barrier failures.
-
Check ground clearance. Slide your gauge along the base of the barrier. On grass or gravel, the maximum allowed gap is 2 inches. On solid surfaces like concrete, ground clearance rules allow up to 4 inches. Record the surface type at each measurement point.
-
Inspect barrier connections to the house. The enclosure must form a continuous barrier with no gaps exceeding 4 inches where it meets the building wall or a retaining wall. Filler panels or return sections are the standard fix when gaps exist.
-
Document every measurement. Write down the height, gap readings, and ground clearance at each point. Take a photo of any location that fails or comes close to failing.
| Measurement | Code minimum | Common failure |
|---|---|---|
| Barrier height (residential) | 48 inches from exterior ground | Measuring from interior side |
| Gap between vertical slats | Max 4 inches | Decorative openings overlooked |
| Ground clearance (grass/gravel) | Max 2 inches | Soil erosion widening gap over time |
| Ground clearance (concrete) | Max 4 inches | Barrier shifting after settling |
| Connection gap to house wall | Max 4 inches | No filler panel installed |
Pro Tip: Measure barrier height at every corner and at the midpoint of each panel run. Frames sag between posts, and a barrier that passes at the posts can fail in the middle.
How to inspect gate operations and mechanisms
Gates fail inspections more often than any other barrier component. Test every function deliberately, not just once.
-
Confirm the swing direction. The gate must swing outward, away from the pool. Push it from the pool side. If it swings inward, it fails immediately.
-
Test self-closing from multiple angles. Open the gate fully, then release it. It must close without any manual help. Repeat at 90 degrees and at 45 degrees. Gate self-closing failures often appear only at partial angles because friction and wind affect closure differently depending on position.
-
Verify self-latching on every close. Watch the latch engage on each closing attempt. One missed engagement is a failure. The latch must catch automatically every time.
-
Measure latch release height. On the exterior side of the gate, the latch release must sit at least 54 inches above the ground. This height keeps the release out of reach of young children.
-
Check the latch area gap. The opening around the latch mechanism on the exterior side must be no larger than 0.5 inches. A gap larger than that allows a child's hand to reach through and release the latch.
Common gate failure points to check:
- Hinge corrosion causing the gate to drag and not close fully
- Spring tension too weak to close against wind resistance
- Latch striker plate misaligned so the latch bounces off instead of catching
- Gate frame warped from heat or moisture exposure
Pool gate hardware in corrosive environments like Central Florida deteriorates faster than in dry climates. Stainless steel hardware and regular lubrication extend the service life and reduce inspection failures caused by mechanical wear.
Pro Tip: Test the gate on a windy day if possible. Wind is the most common real-world condition that causes a gate to stall before fully closing. A gate that passes on a calm day may fail in actual use.
What climbability and adjacent hazards should you look for?
A barrier that meets every measurement standard can still fail if a child can climb over it. Climbability is a formal audit point in most codes, and inspectors check it.
- Look for any horizontal rail, crossbar, or decorative element within the lower 45 inches of the barrier exterior. These act as footholds and make the barrier climbable.
- Remove or relocate any furniture, equipment pads, or planters within 3–4 feet of the outside of the barrier. A chair pushed against the fence gives a child an instant step up.
- Trim tree branches that hang within reach of the barrier top. A branch 3 feet from the fence line is close enough to use as a climbing aid.
- Check above-ground pool ladder security. Above-ground pool ladders must be removable, lockable, or protected by a separate barrier. Any opening left when the ladder is removed is subject to the 4-inch sphere rule.
- Assess every point where the enclosure connects to the house. A gap at a door threshold or a window well can create an access route that bypasses the entire barrier.
Layered safety measures like pool alarms, safety covers, and door exit alarms add meaningful protection beyond what fencing alone provides. Codes recommend these layers because no single barrier is foolproof. You can find more guidance on combining these approaches in a full pool safety checklist.
Pro Tip: Get down to a child's eye level and look at the barrier from outside. You will spot footholds and gaps that are invisible from adult height.
How to prepare for the official inspection and avoid common pitfalls
The week before an official inspection, run through your own checklist one more time. Clear the area around the enclosure so the inspector can walk the full perimeter without obstacles. Double-check every gate function and re-measure any barrier section that was borderline during your self-assessment.
Common reasons inspections fail:
- Barrier height measured from the wrong side (interior instead of exterior ground level)
- Gate latch height below 54 inches because the gate was rehung after repairs
- Gaps at the barrier-to-house connection left open after screen replacement
- Horizontal rails added during a renovation that now create climbability
- Ground clearance that widened due to soil erosion or landscaping changes
Inspectors check three things in sequence: documentation, visual condition, and functional tests. Have your permit records and any prior inspection reports ready. A missing document can delay approval even when the physical barrier passes.
"Noncompliance with pool barrier requirements risks homeowners insurance cancellation. Insurers conduct post-policy inspections and set timelines for corrections before coverage lapses. A failed inspection is not just a code issue. It is a financial one."
If your enclosure fails, get the correction list in writing and address each item before requesting a re-inspection. Most jurisdictions allow a re-inspection within 30 days. Prioritize gate hardware and height deficiencies first because those are the most common and the most straightforward to fix. For enclosures with weather-related damage affecting barrier integrity, address structural repairs before the re-inspection date.
Key Takeaways
A compliant pool enclosure requires verified barrier height, gap testing, outward-swinging self-latching gates, and cleared climbability hazards to pass a formal safety inspection.
| Point | Details |
|---|---|
| Barrier height matters by location | Measure from exterior ground level; residential minimum is 48 inches, but local codes often require more. |
| The 4-inch sphere rule is non-negotiable | Test every gap, slat, and connection point with a rigid 4-inch gauge before the inspector arrives. |
| Gates fail most often | Test self-closing and self-latching from multiple angles, including 45 and 90 degrees, not just fully open. |
| Climbability voids compliance | Remove furniture, planters, and horizontal rails within 3–4 feet of the barrier exterior. |
| Insurance depends on compliance | A failed inspection can trigger homeowners insurance cancellation; correct deficiencies promptly. |
What I've learned from watching homeowners prepare for pool inspections
Most homeowners focus entirely on the fence and forget the gate until the day of the inspection. That is the single most expensive mistake I see. Gate hardware is the component most likely to fail, and it is also the component most affected by Florida's heat, humidity, and salt air. A latch that worked fine last spring may have corroded enough by summer to miss engagement on one out of three closes. That one miss is a failed inspection.
The other thing I consistently see is homeowners measuring barrier height from the inside. The code is explicit: height is measured from the exterior ground level. If your landscaping has built up soil on the interior side, the effective exterior height may be lower than you think. Measure from outside, every time.
Layered safety is not just a code recommendation. It is the practical reality that no barrier is perfect. A pool alarm, a safety cover, and a door exit alarm working together catch the scenarios that a fence alone cannot. I encourage every homeowner to treat the minimum code as a floor, not a ceiling. The families who do that sleep better.
Finally, document everything with photos before and after any repair. An inspector who sees a clear before-and-after record of a corrected deficiency moves through the re-inspection faster. Good documentation is not paperwork. It is proof.
— Michel
Your enclosure, ready for inspection
Passing a pool safety inspection starts with knowing exactly what inspectors look for, and it ends with having an enclosure that is physically sound.

Mrpoolscreen specializes in pool screen restoration for Central Florida homeowners, using industrial-grade water-based acrylic coatings and stainless steel fasteners that hold up against the corrosive pool environment. If your enclosure has rust, damaged panels, or structural wear that would cause it to fail inspection, Mrpoolscreen can restore it for up to 60% less than a full rebuild. Browse the restoration project gallery to see completed work, or contact Mrpoolscreen directly for a free estimate before your next inspection date.
FAQ
What is the minimum height for a residential pool barrier?
Most residential codes under the ISPSC require a minimum barrier height of 48 inches, measured from the exterior ground level. Local amendments in some jurisdictions require 60 inches or more, so always verify your county's specific code.
What does the 4-inch sphere rule mean for pool enclosures?
The 4-inch sphere rule means no opening in your pool barrier can allow a 4-inch diameter sphere to pass through. This applies to vertical slat gaps, decorative openings, and any gap where the barrier meets the house wall.
How do I test if my pool gate passes inspection?
Open the gate fully, then release it and confirm it closes and latches without any manual help. Repeat the test at 90 degrees and 45 degrees open, since friction and wind affect closure at partial angles.
Does my pool enclosure affect my homeowners insurance?
Yes. Insurers often require compliant pool barriers and conduct post-policy inspections. A non-compliant enclosure can result in a cancellation notice with a set timeline to correct deficiencies.
How often should I inspect my pool enclosure?
A self-inspection at least once a year is the standard recommendation, with additional checks after any major storm or repair work. Integrating the inspection into your annual home maintenance routine keeps deficiencies from building up unnoticed.