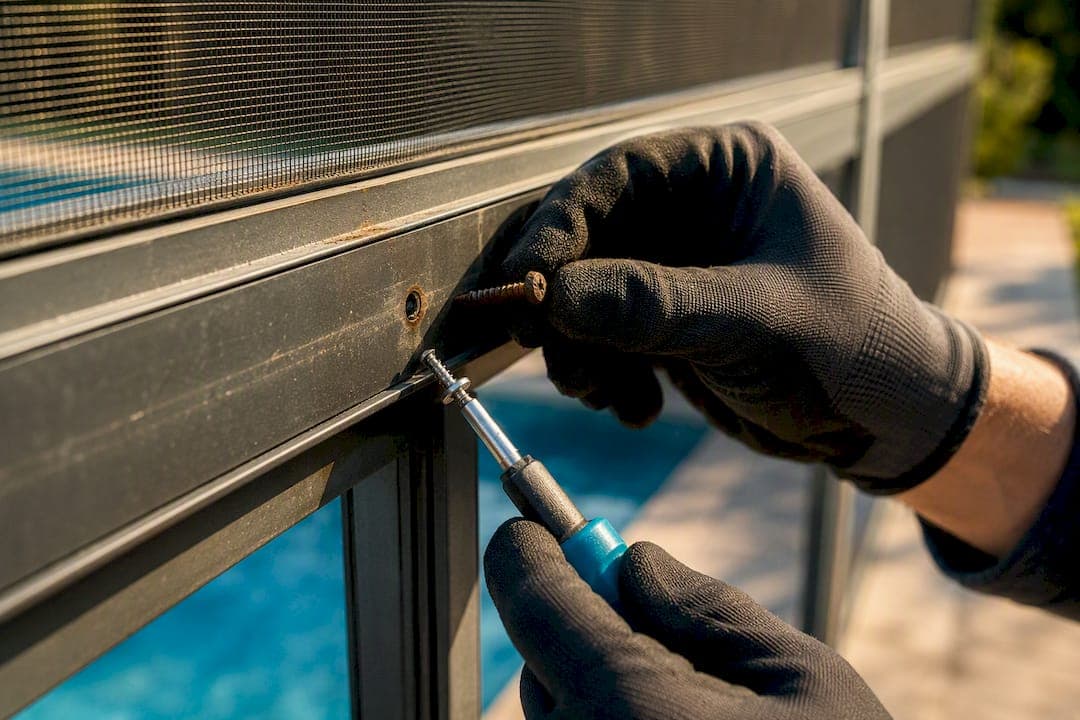
If you're finding rust streaks around your pool cage fasteners, replace corroded steel screws with pool-grade 316 stainless as soon as you spot them. Stop touching anything if a screw is snapped, stuck, or holding a corner anchor. Surface staining usually cleans up fine on your own. Structural failure at the base plates or anchor points is a different problem entirely, and that's when you call a restoration contractor instead of reaching for a drill.
TL;DR:
- Rust streaks from fasteners indicate galvanic corrosion, especially in salt and chlorine environments, requiring proper stainless steel fasteners with upgraded installation practices.
- Replacing corroded screws with marine-grade 316 stainless steel and adding washers or dielectric grease can significantly extend hardware lifespan and prevent repeated failures.
- Structural failures like snapped or stuck screws or deteriorating anchors demand professional restoration to avoid costly full cage replacements.
- Regular inspections every six months and routine rinsing with fresh water help prevent corrosion buildup, especially in splash zones and areas exposed to fertilizers or overspray.
- DIY fixes have limited longevity if installation hygiene is ignored; proper isolation methods and choosing the right hardware are key to maintaining a rust-free cage long-term.
Table of Contents
- What Are the Warning Signs of Rusted Pool Cage Screws?
- Why Do Screws Rust on Pool Cages in the First Place?
- When Should You Repair vs. Replace vs. Call a Pro?
- What's the Best Replacement Hardware for Pool Screws?
- How Do You Safely Remove and Replace a Rusted Pool Screw?
- How Often Should You Inspect and Maintain Pool Cage Hardware?
- How Does Professional Restoration Handle Rusted Fasteners?
- What's the One Thing Homeowners Get Wrong About This Repair?
- Ready for a Professional Pool Cage Restoration?
- Sources
What Are the Warning Signs of Rusted Pool Cage Screws?
Not every rust mark means trouble. Orange or brown streaks running down from a screw head almost always point to a corroding steel fastener, not the aluminum frame itself. Aluminum forms its own protective oxide layer, so a chalky white residue is a different, far less urgent issue than rust bleeding from a fastener point.
Run through this quick checklist, which takes about 10 to 15 minutes for an average-size cage:
- Wiggle each screen panel by hand. Any movement means the fastener behind it has lost its grip.
- Check for snapped or rounded-off screw heads, especially ones that broke during a previous repair attempt.
- Inspect base tracks and corner anchors closely. These sit closest to standing water and splash zones and fail first.
- Look for stripped threads. If a screw spins without tightening, the hole itself may be compromised.
- Note any screw that crumbles or shears when you apply light pressure with a screwdriver.
For a more detailed walk-through of failure patterns, Mrpoolscreen's guide on fastener failure signs covers what each type of damage usually means for repair urgency.
Why Do Screws Rust on Pool Cages in the First Place?
Most rusted pool cage screws fail because of galvanic corrosion, not simple weathering. When a steel fastener sits inside an aluminum frame and moisture gets between them, the two metals form a small electrical cell that eats away at the weaker metal, usually the screw.
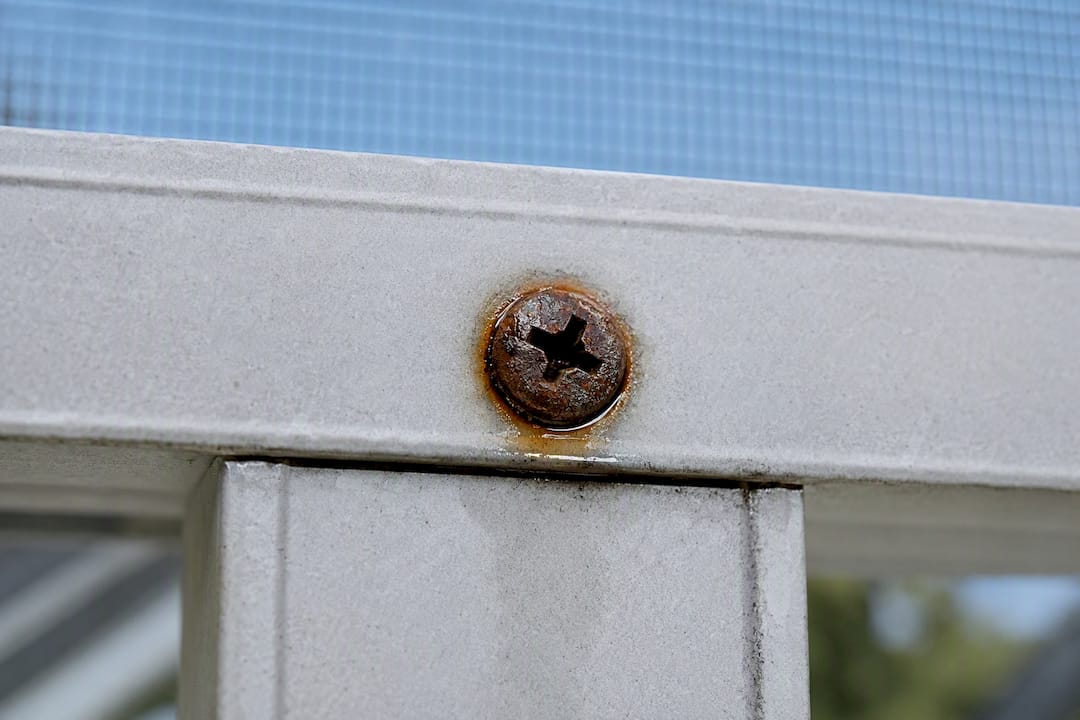
Chlorine and salt make this worse. Chloride ions are aggressive corrosion accelerants, which is exactly why pool environments chew through hardware that would last decades in a dry garage. A screw labeled "stainless" isn't automatically safe, either: 304 and some 400-series stainless steels lack enough molybdenum to resist chlorides long-term, and they'll rust just like mild steel once exposed to a chlorinated splash zone long-term exposure.
A few other contributors sneak up on homeowners:
- Sprinkler overspray and fertilizer drift near the cage base introduce extra chemical exposure.
- Water trapped at base plates after rain or pool splash keeps metal wet far longer than it should be.
- Installing "stainless" screws with a steel drill bit or driver can embed tiny iron particles in the surface, seeding rust spots that spread from there.
When Should You Repair vs. Replace vs. Call a Pro?
Not every rusted screw needs the same response. Use these three tiers to decide what your situation actually calls for.
- Green light, handle it yourself. Surface staining with snug, functional screws just needs cleaning and a stain-removal pass. Spot-replace any single fastener that looks compromised, and move on.
- Yellow flag, replace and isolate. A loose screw or one with early thread damage should come out and get replaced with a properly isolated 316 stainless fastener. If you're finding three or more like this across the cage, that's usually a sign the whole batch of original hardware is failing, and a professional inspection saves you from replacing screws one at a time for the next two years.
- Red flag, stop and call a contractor. Broken screws stuck inside threaded cylinders, deteriorating base anchors, or multiple snapped anchors at once mean the frame's structural integrity is in question. Forcing a stuck screw here risks stripping the anchor point entirely, turning a $15 fix into a full panel replacement.
A single DIY screw swap costs very little and takes 15 to 20 minutes once you have the right hardware. A professional restoration visit for widespread corrosion runs longer but addresses root causes across the whole structure instead of chasing individual failures.
What's the Best Replacement Hardware for Pool Screws?
For nearly every pool cage application, 316 or 316L marine-grade stainless steel is the right call. The added molybdenum content gives it meaningfully better resistance to chloride attack than 304 stainless, which is the grade that fails so often in pool settings. For extreme coastal exposure where even 316 shows localized pitting after many years, some contractors step up to Monel or aluminum bronze fasteners. Nylon hardware works fine for low-clamp, non-structural attachment points where corrosion resistance matters more than tensile strength.
At base plates, use properly sized stainless concrete anchors with wide flanges rather than undersized replacements. Avoid direct steel-to-aluminum contact wherever possible.
A few installation habits make the difference between a five-year fix and a five-month one:
- Add nylon or rubber washers between the fastener and the frame to break the galvanic path.
- Use a dab of dielectric grease or silicone under the screw head. Isolation techniques like this stop moisture from bridging the two metals.
- Drive screws with a brass or non-metallic bit instead of steel, which can embed iron particles that seed new corrosion.
- Recoat cleaned frames with a quality water-based acrylic coating for added protection.
Pro Tip: Skip the generic "stainless" bin at big-box hardware stores. A lot of that hardware is 304 grade with no clear labeling, and it's the exact stuff practitioners see failing in pool environments within a couple of seasons. Buy from a marine hardware supplier where the grade is stated on the packaging.
How Do You Safely Remove and Replace a Rusted Pool Screw?
This applies strictly to non-structural screws, meaning screen attachment points and panel fasteners, not base anchors or corner supports.
You'll need penetrating oil, a screwdriver or drill with a non-steel bit, replacement 316 stainless screws, isolation washers, and eye protection.
- Clean around the screw head with a wire brush to remove loose rust and debris.
- Apply penetrating oil and let it sit for 10 to 15 minutes to work into the threads.
- Attempt removal with steady, even pressure. Don't force it if the head starts to strip.
- For a non-structural screw that won't budge, carefully drill out the head only, never at a base plate or anchor point.
- Install the new 316 fastener with a washer and a small amount of dielectric grease, tightening to a snug fit without overtightening.
- Rinse the area with fresh water, treat any rust staining on the frame, and check the three or four nearest screws while you're already there.
Pro Tip: If a screw snaps flush or spins without biting after the third attempt, stop. That's your signal the hole has stripped or the anchor behind it is compromised, and it's a job for a restoration crew rather than a bigger drill bit.
How Often Should You Inspect and Maintain Pool Cage Hardware?
Twice a year, plus a walk-around after any major storm, is the right cadence for most Florida homeowners. Each visit, run the wiggle test on a handful of panels and check base tracks for standing water or fresh rust bleed.
Between inspections, rinse the frame with fresh water regularly to clear salt, chlorine, and fertilizer residue before it has time to sit and react with the metal. Routine rinsing is genuinely the cheapest prevention tool available. Products like metal stain removers and zinc anodes help control staining in salt systems specifically.
If you're replacing more than a handful of screws every year, a full hardware upgrade during a restoration visit usually costs less over time than piecemeal fixes. Even moving sprinkler heads away from the cage base helps, since chemical overspray is a quieter contributor to corrosion than most homeowners realize.
How Does Professional Restoration Handle Rusted Fasteners?
When corrosion has spread across a large section of the cage, or you're finding stuck and structural failures together, a full restoration visit addresses the whole system instead of one screw at a time. Mrpoolscreen's approach replaces corroded hardware with 316 stainless fasteners, cleans and recoats frames with industrial-grade water-based acrylic, and reseats loosened panels so the whole structure is working together again.
Restoration work like this typically runs a fraction of the cost of a full cage rebuild, since the aluminum frame itself rarely needs replacing, only the hardware and finish do.
That's the core value proposition of restoration over rebuilding: the frame usually has years of life left in it once the fasteners and coating are addressed properly. Photos from completed jobs, available in Mrpoolscreen's project gallery, show what that transformation looks like on cages that had visible rust streaks and loose panels before the work started.
What's the One Thing Homeowners Get Wrong About This Repair?
Most advice on rusted pool cage screws treats the fix like a simple materials upgrade: swap steel for stainless, done. That's incomplete. The research on this is pretty consistent that installation hygiene matters almost as much as the fastener grade itself. A 316 stainless screw driven in with a steel bit, torqued too tight, or set directly against bare aluminum with no isolation can start corroding again within a couple of years, and the homeowner ends up blaming the material instead of the method.
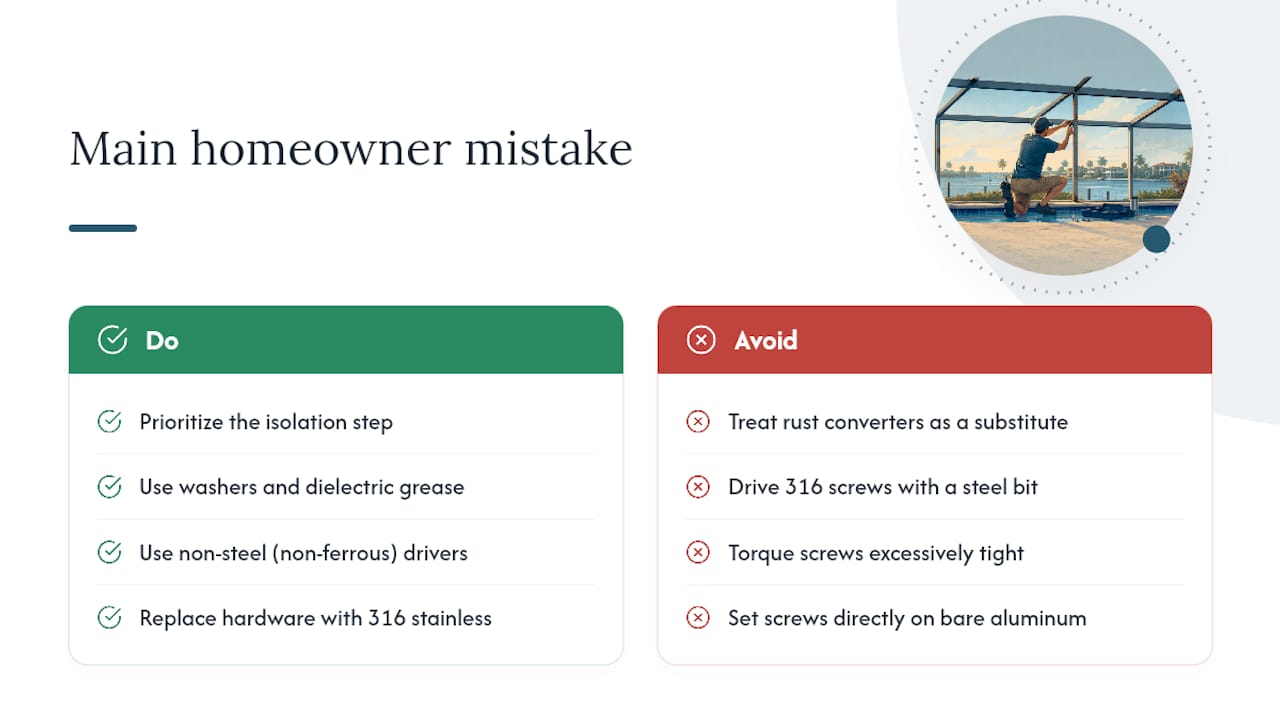
The other blind spot is treating rust converters and stain removers as a fix rather than what they actually are: cosmetic stabilizers. They're worth using, but only as a companion to hardware replacement, never a substitute for it.
If you take away one thing, prioritize the isolation step. Washers, dielectric grease, non-steel drivers. That's the part almost every DIY guide skips, and it's the part that determines whether your repair lasts five years or five months.
— Michel
Ready for a Professional Pool Cage Restoration?
If your cage has widespread corrosion, stuck structural screws, or panels loose enough to worry about, a professional visit solves in one trip what DIY fixes would take a full season to chase down piecemeal. Restoration services handle this kind of job by keeping the existing frame and simply replacing what's actually failed.

A typical restoration visit can include replacing corroded fasteners with stainless or Nylotech hardware, cleaning and staining, and recoating the frame with a water-based acrylic finish. Homeowners usually reach out once they've hit a stuck or snapped structural screw, or once the rust has spread across enough of the cage that spot fixes stopped making sense. Browse the pool screen restoration page to see what's included, or check the project gallery for real before-and-after results, then request a visit to get your cage assessed.
Sources
- Common uses for marine 316 SS screws — Eagle Claw Co.
- Pool Cage Corrosion: What rusts and how to stop it — Lanai Guys
- Rusting stainless steel screws — Eng-Tips forum
- Zinc anode corrosion and rusting stainless steel screws — Ask the Pool Guy