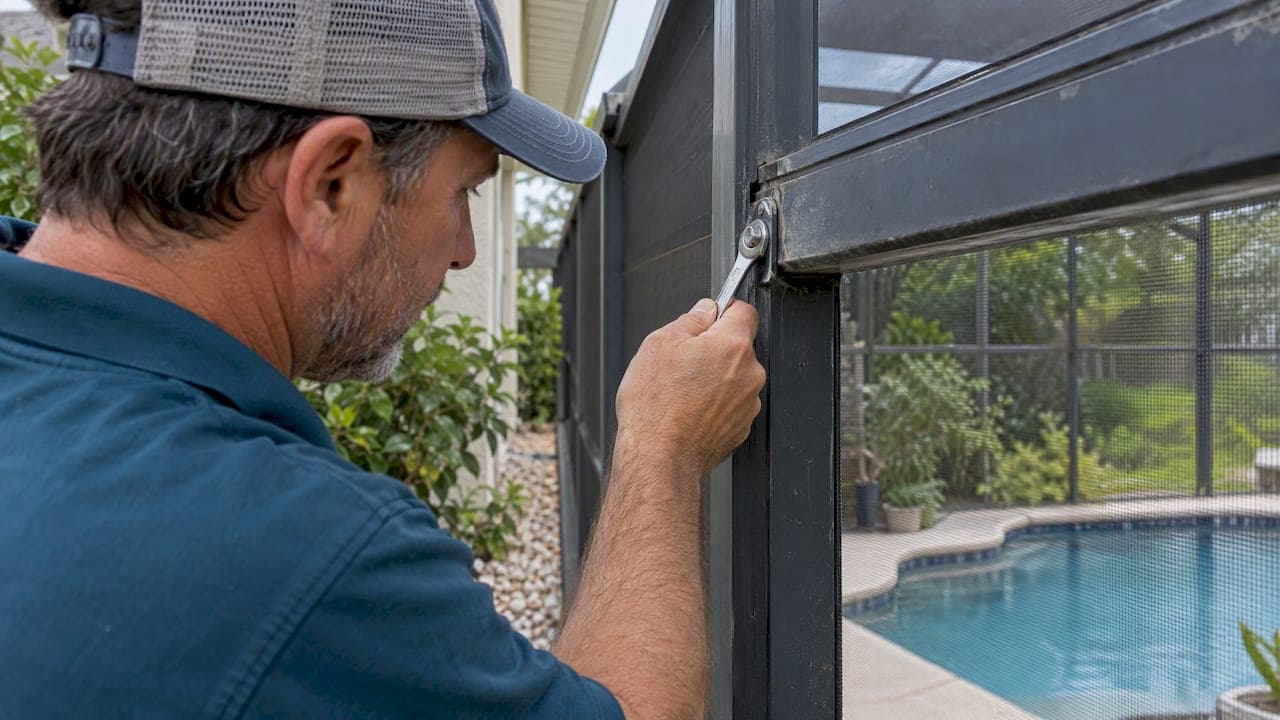
If the fastener heads are intact and the frame feels solid, tighten or swap in a compatible corrosion-resistant bolt and you're done. If an anchor spins freely, a post looks bent, or you see deep pitting in the aluminum, stop working and call a contractor. Everything between those two outcomes depends on what your inspection turns up, and that's where to start.
TL;DR:
- Inspect corners, windward walls, base plates, and door hardware first; missing screen sections can shift wind loads onto remaining panels and damage connections.
- Check the enclosure quarterly and after major storms, focusing on corners and base plates; coastal homes need more frequent inspections because salt air speeds corrosion.
- Florida code permits aluminum, stainless, and galvanized steel fasteners, but stainless can corrode adjacent aluminum; barrier washers or corrosion prevention compounds reduce that risk.
- A slightly enlarged anchor hole may accept one larger anchor; epoxy anchors need sound concrete and often require 24 hours to cure before carrying load.
- Restoration fits frames that remain structurally sound when damage affects only coatings, screens, or fasteners, while a failed frame calls for rebuilding.
Table of Contents
- How to spot loose, missing, or rusted bolts on your enclosure
- Tightening loose bolts and making safe temporary fixes
- Replacing rusted or stripped fasteners the right way
- Fixing loose anchors and base plates
- Seasonal maintenance that keeps bolts from loosening again
- When loose bolts mean it's time to call a pro
- Why restoration often beats a full rebuild
- Getting a quote for pool screen restoration
- FAQ
- Sources
How to spot loose, missing, or rusted bolts on your enclosure
Most enclosure failures start small: a rust streak under a screw head, a panel that rattles when the wind picks up, a door that no longer sits flush. Catching these early is the difference between a 15-minute fix and a contractor visit.
Work through your enclosure in this order so you don't miss the spots most likely to fail first.
- Check the corners and windward walls first. These carry the most load during storms, and full-scale wind-load testing shows that screen attachment failure here can create unbalanced loading that damages posts and base connections.
- Look for rust streaking or white powder on aluminum. Orange streaks below a fastener usually mean the screw itself is corroding. White, chalky residue on the frame points to aluminum oxidation, often worsened by the wrong fastener metal.
- Scan for missing or sheared screw heads. A missing fastener is not a cosmetic problem. It shifts load to its neighbors, which speeds up their wear too.
- Check panel alignment. A screen panel that's bowed, loose at one edge, or visibly gapped from its frame channel often means the fasteners holding it have backed out or sheared.
- Inspect base plates for movement. Grip the post near the base and gently rock it. Any wobble, or a visible gap between the plate and the concrete, signals an anchor problem rather than a simple loose screw.
- Test for spin. Try turning an anchor bolt by hand before you grab a tool. If it spins without resistance, the hole is stripped or oversized, and tightening won't fix it.
- Examine concrete around base plates for cracks or spalling. Hairline cracks radiating from an anchor point suggest the anchor has been working loose under load for a while.
- Check door thresholds and hinge hardware. Doors see the most daily stress and are often the first place fasteners loosen.
Partial screen loss deserves more attention than homeowners usually give it. The same wind-load research found that missing screen sections can accelerate structural damage by introducing unbalanced loading on the remaining frame, so a torn panel shouldn't sit unrepaired while you address only the bolts nearby.
For a full walk-through you can print and take outside, our pool screen safety inspection checklist covers each of these checkpoints in more detail. A quarterly visual pass, plus a check right after any major storm, catches most problems before they become structural.
Tightening loose bolts and making safe temporary fixes
Once you've identified fasteners that are loose but still seated in sound material, tightening is usually a 20-minute job per panel.
Safety comes first. Pool enclosures put you working near water, often on a ladder, often overhead. Keep a helper nearby, wear eye protection against falling rust flakes, and never stand on pool furniture or a screen panel for height.
- Ladder on stable, level ground, away from the pool edge.
- Safety glasses and gloves, since old screws shed rust and sharp edges.
- Torque wrench or a driver with a clutch setting, not just a cordless drill on full power.
- Penetrating oil (such as PB Blaster or WD-40) for seized screws.
- Stainless washers, threadlocker, and replacement fasteners sized to match the original.
Start by cleaning around the screw head with a stiff brush so you can see the drive pattern clearly. If it doesn't turn, apply penetrating oil and give it ten minutes before trying again, rather than forcing it and stripping the head. Remove the fastener fully if you have any doubt about its condition, check the threads and the hole for corrosion, and add a stainless washer before reinstalling if one wasn't there before.
Torque to "snug," meaning the fastener is fully seated against the frame with no play, but not cranked down hard enough to dimple or crack the aluminum. Aluminum strips easily under too much force, so stop as soon as resistance builds rather than pushing for one more turn. After each fastener, give the panel a gentle shake to confirm it no longer moves independently of the frame.
Pro Tip: Replace fasteners one at a time rather than removing several at once, so the panel stays supported and you don't lose track of which hole each screw came from.
Stop and treat the fix as temporary if the anchor spins instead of tightening, if you notice the surrounding concrete is cracked, or if corrosion shows up on more than a few fasteners in the same area. Widespread corrosion usually means the whole batch is near the end of its life, and tightening one bolt while five others are failing nearby buys you very little time.
Replacing rusted or stripped fasteners the right way
When a fastener is too corroded to save, or the head is stripped, replacement is straightforward as long as you match materials correctly. Getting this wrong is how a quick fix turns into a recurring problem.
Florida Building Code lists the fastener materials acceptable for aluminum construction: aluminum, stainless steel, and hot-dip or electro-galvanized steel, with double cadmium-plated steel also permitted. Sticking to this list keeps your repair compliant and durable.
The complication is galvanic corrosion. When a stainless steel fastener sits directly against an aluminum frame, the two metals can set up a reaction that accelerates the aluminum's breakdown around the fastener, even though the stainless screw itself looks fine. This is exactly the kind of problem that can hide a worsening frame issue behind a bolt that appears perfectly intact.
A combined approach performs best in field testing. A field study on painted aluminum assemblies found that pairing a corrosion prevention compound inside the fastener bore with a protective plating or coating on the fastener itself often extends service life further than either method alone.
Practical mitigations worth using on any replacement job:
- Apply a corrosion prevention compound (CPC) inside the hole before inserting the new fastener.
- Use a barrier washer or isolation bushing between stainless hardware and bare aluminum.
- Choose coated or bi-metal fasteners rated for aluminum contact where available.
- Match diameter and length exactly. A fastener that's too long can bottom out against internal framing or screen track and crack it.
- In coastal or high-humidity zones, lean toward marine-grade hardware from the start rather than standard stainless.
Not every stainless fastener behaves identically near painted aluminum either. Some higher grades, including 316 or titanium, can still affect coating adhesion or trigger galvanic activity in certain painted systems, which is why isolation barriers and CPCs matter even with premium hardware.
If you're replacing a handful of rusted screws yourself, our guide on using 316 stainless to fix rusted pool cage screws walks through a 15 to 20 minute swap that follows these same material principles.
Fixing loose anchors and base plates
A loose bolt is simple. A loose anchor or base plate is a different problem, because the hole itself has failed, not just the fastener in it. You have four realistic repair paths, and the right one depends on how much material is left to work with.
- Step up to a larger-diameter anchor. If the existing hole is only slightly oversized, a thicker anchor can bite into fresh material. This is the fastest fix but only works once before the hole is too large for any standard anchor size.
- Install an epoxy or chemical anchor. Clean the bore thoroughly, inject structural epoxy, and set a new anchor rod. This restores a strong hold even in a slightly worn hole and is a common professional technique when the surrounding concrete is still sound.
- Thru-bolt with a backing plate. Where you have access to the underside or back of the post, running a bolt completely through with a backing plate spreads the load across a wider area and avoids relying on the concrete grip alone.
- Relocate the anchor into fresh concrete. When the original hole is too damaged to repair, drilling a new anchor point nearby, into concrete that hasn't been compromised, is often more reliable than trying to rescue a failing one.
Pro Tip: Before choosing a repair method, press a screwdriver into the concrete right around the anchor. If it crumbles or feels soft, the concrete has already spalled and none of these fixes will hold long term.
Each of these methods requires a hammer drill, the correct anchor-rated epoxy or hardware, and a torque wrench to seat the new anchor correctly, not a cordless drill on guesswork. Epoxy anchors generally need a cure period, often 24 hours, before they can bear load, so plan around that if the enclosure needs to stay secure overnight.
Base-plate problems point to a wider structural concern when more than one anchor on the same post has failed, when the post itself shows visible leaning, or when cracking extends beyond the immediate anchor area into the surrounding slab. At that point, the fix is no longer about hardware.

Seasonal maintenance that keeps bolts from loosening again
A little routine attention does more for enclosure longevity than any single repair. Build a simple schedule and stick to it.
- Quarterly visual checks. Walk the perimeter looking for new rust streaks, loose panels, or hardware that's backed out slightly.
- Annual torque check. Once a year, go through accessible fasteners with a torque wrench and snug anything that's drifted loose from normal thermal expansion and contraction.
- Post-storm inspection. After any significant wind event, check corners and base plates specifically, since that's where wind-load testing shows stress concentrates first.
- Recoat frames before the finish breaks down, not after. A coating with the right elasticity and UV resistance protects the metal around fastener holes from the moisture intrusion that starts corrosion in the first place.
- Upgrade fasteners in high-exposure spots now, rather than waiting for failure. Swapping a handful of ground-level or windward-facing screws to coated stainless hardware with barrier washers is cheap insurance.
- Add washers anywhere they're missing. A washer spreads load and reduces the chance of a fastener working its way loose from vibration.
Homes closer to the coast should tighten this schedule, since salt air speeds up every corrosion process described above.
When loose bolts mean it's time to call a pro
Some signs mean the problem has moved past what a homeowner should handle with hand tools. Watch for:
- Multiple anchors on the same post or wall section spinning freely.
- Visibly bent, leaning, or twisted posts.
- Corrosion spread across a large section of frame rather than isolated fasteners.
- Cracked or spalled concrete under more than one base plate.
- The same fasteners failing again shortly after a DIY repair.
A contractor visit typically covers anchor relocation, reinforcement of weakened posts, and recoating the frame where corrosion has started to spread, often backed by a workmanship warranty. Our aging pool enclosure repair checklist breaks down repair versus replace decisions in more depth if you're not sure which side of that line you're on.
Before requesting a quote, take clear photos of the problem areas, especially base plates and any corroded fasteners up close, and bring your own inspection notes. Ask any contractor what fastener materials they use, what warranty covers the work, and how long the job will take.
Why restoration often beats a full rebuild
A pool enclosure rarely fails all at once. Posts, screens, and hardware wear at different rates, which is why a full tear-down is often more than the actual damage calls for. Restoration work typically uses industrial-grade acrylic coatings, stainless fasteners, and careful masking to protect surrounding surfaces, often backed by a warranty on the finished work.
Restoration makes the most sense when the frame itself is structurally sound and the damage is cosmetic or fastener-level rather than foundational. A rebuild makes sense when the frame has failed outright. Knowing which situation you're in is most of the decision.
— Michel
Getting a quote for pool screen restoration
If your enclosure needs more than a handful of new screws, restoration services are available that include industrial-grade acrylic coatings, stainless fastener replacements, and pool deck staining when the project calls for it.

Sending a few photos speeds up your estimate considerably: close-ups of corroded fasteners, a shot of each base plate, and a rough measurement of your enclosure's footprint. From there we can give you a clear scope of work and timeline. Visit our pool screen restoration page to see our process, or reach out through Mr. Pool Screen to request a quote for your enclosure.
FAQ
How do I know if a pool enclosure bolt just needs tightening?
If the fastener head is intact, the surrounding aluminum shows no deep pitting, and the anchor doesn't spin when you test it by hand, tightening is usually enough. If it spins freely or the hole looks enlarged, tightening won't hold and the anchor itself needs repair.
What type of fastener should I use to replace rusted pool cage screws?
Florida Building Code allows aluminum, stainless steel, and hot-dip or electro-galvanized steel fasteners for aluminum structures. Stainless is common, but pairing it with a barrier washer or corrosion prevention compound helps avoid galvanic reaction with the aluminum frame.
Can mixing stainless steel and aluminum cause corrosion?
Yes. Stainless fasteners in direct contact with aluminum can accelerate corrosion of the aluminum around the fastener. Coatings, isolation barriers, or corrosion prevention compounds reduce this risk significantly.
When should I stop doing it myself and call a contractor?
Call a professional if multiple anchors spin, posts look bent or leaning, corrosion covers a large area rather than a few spots, or the concrete around base plates is cracked. These signs point to structural issues that hand tools and replacement screws won't resolve.
Does restoring a pool enclosure cost less than replacing it?
Restoration addresses coating, fastener, and screen wear on a frame that's still structurally sound, which generally costs less than a full rebuild. Whether restoration fits your situation depends on the extent of the damage, so a contractor visit and quote is the most reliable way to compare the two.
Sources
- Chapter 20 Aluminum: 2023 FBC - Building, 8th edition | UpCodes
- Galvanic corrosion: stainless steel and aluminum compatibility considerations | PW Marine OEM (2026)
- A field study for the mitigation of galvanic corrosion on painted aluminum with different fastener materials
- Final report: Full scale wind load testing of aluminum screen enclosures