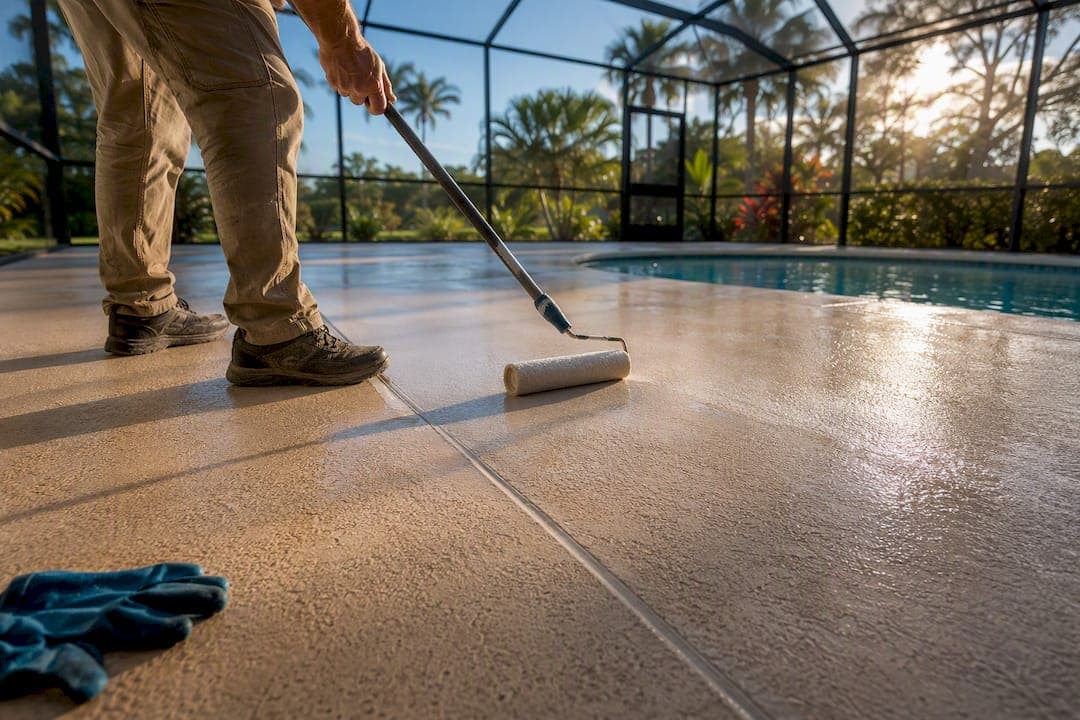
For most concrete or masonry pool decks, a hybrid system of an epoxy primer/base coat with a UV-stable polyaspartic topcoat delivers the best combination of adhesion, color retention, and slip resistance. If your deck sees light traffic and you want a simpler DIY weekend project, an acrylic "cool deck" coating is a reasonable trade-off. Before buying anything, check two things: whether the slab has structural cracks, and whether your expansion joints are still flexible. Active moisture, major cracking, or complicated joint layouts strongly suggest consulting a professional.
TL;DR:
- A hybrid epoxy/polyaspartic coating system offers the best balance of adhesion, UV stability, and long-term durability for outdoor concrete pool decks.
- Proper surface preparation, including crack repair, moisture testing, and joint sealing, is crucial to prevent coating failure within a few years.
- Acrylic "cool deck" coatings are simple for DIY projects, reduce surface temperature, but generally require more frequent reapplication than hybrid systems.
- Moisture trapped beneath the slab and improperly sealed joints are the leading causes of coating failure, emphasizing the importance of thorough prep.
- Professionals are recommended when active moisture, wide cracks, or complex joint layouts are present, as these conditions challenge even experienced DIYers.
Table of Contents
- What Types of Masonry Pool Deck Coating Should You Consider?
- How Do You Prepare a Concrete Pool Deck for Coating?
- Which Coating Should You Choose for Your Deck?
- How Do You Apply a Coating for a Durable, Slip-Safe Finish?
- How Do You Maintain a Coated Pool Deck Long Term?
- What Do Pool Deck Restoration Professionals See in the Field?
- What Should You Actually Prioritize on This Project?
- When Should You Hire Mrpoolscreen for Deck Coating Work?
- Where Can You Verify These Coating Specs Yourself?
- Sources
What Types of Masonry Pool Deck Coating Should You Consider?
Every coating on the market falls into one of a few families, and each one solves a different problem. Picking the wrong one is the single most common reason a pool deck coating fails within two or three years instead of lasting a decade.
Epoxy systems bond aggressively to properly prepped concrete and resist abrasion better than almost anything else you'll put on a deck. The catch is UV exposure. Straight epoxy chalks, yellows, and can go chalky-white within a season or two of direct Florida sun, which is why it's rarely used alone as a topcoat outdoors. It's excellent as a base or primer layer, though, precisely because nothing else grips bare masonry as well.
Polyaspartic (a polyurea variant) coatings cure fast, stay flexible, and hold their color under UV exposure far longer than epoxy. They cost more per gallon and demand tighter application windows because they set up quickly, sometimes within an hour, which is unforgiving for a first-time DIYer working alone.
Hybrid epoxy/polyaspartic systems solve the weakness of each material by pairing them: an epoxy base coat locks onto the masonry, and a polyaspartic topcoat seals it against sun damage and chemical exposure. Industry guidance from coating specialists consistently points to this pairing as the top-performing option for outdoor pool decks, combining epoxy's bite with polyaspartic's UV stability and faster return to service. If you do nothing else differently after reading this article, remember that combination.
Acrylic "cool deck" coatings are the DIY-friendliest option and the one most homeowners have already seen on builder-grade pool decks. They're water-based, roll on easily, and often include infrared-reflective technology that keeps bare feet from getting scorched in July. Manufacturer testing on products like the E28 Cool Life Deck Coating indicates significant surface temperature reductions compared to bare concrete. The tradeoff is lifespan: acrylics wear faster under heavy foot traffic and chemical splash, and they typically need recoating more frequently than the longer lifespan generally expected from a hybrid system.
Overlays and resurfacing aren't coatings at all. They're a structural fix, applied when the existing slab has spalled, deeply cracked, or lost too much surface integrity to hold any coating. If your deck has extensive scaling or exposed aggregate from years of weathering, a coating will not fix the underlying problem. Resurfacing guidance from ConcreteNetwork walks through the signs that call for an overlay rather than a topical product, and it's worth reading before you buy a single gallon of anything.
Here's how the main options stack up at a glance:
- Epoxy alone: strongest bond, weakest UV resistance, best used as a primer layer only.
- Polyaspartic: excellent UV stability, fast cure, higher skill requirement for DIY.
- Hybrid epoxy/polyaspartic: longest realistic lifespan for outdoor decks, moderate DIY difficulty.
- Acrylic cool deck: easiest DIY application, meaningful heat reduction, shorter lifespan.
- Overlay/resurfacing: not a coating, needed only when the slab itself has failed.
If your deck's texture already gets slippery when wet, it's worth reading up on slippery pool deck fixes before you commit to a coating type, since some products build in traction better than others.
How Do You Prepare a Concrete Pool Deck for Coating?
Surface prep causes more coating failures than the coating itself. A $70 gallon of premium polyaspartic will peel just as fast as a bargain acrylic if it's applied over dust, laitance, or a joint that was never supposed to be painted in the first place.
- Confirm the concrete has cured. New pours need roughly 28 days to cure fully, and any curing compound applied by the concrete crew has to be removed before a coating will bond.
- Test for contamination. Splash a little water on the surface. If it doesn't absorb within a few minutes, there's a sealer or curing agent still present that needs to be stripped.
- Pressure wash and degrease. Remove algae, sunscreen residue, and grease buildup around grills or pool equipment. Oil stains near patio furniture or driveway edges respond to the same degreasing techniques used on stained concrete elsewhere in the yard.
- Profile the surface mechanically if needed. Smooth, troweled concrete often needs light grinding or acid etching so the coating has enough texture to grip.
- Repair cracks before coating. Hairline cracks can be routed and filled; anything wider or accompanied by heaving points toward a structural issue that needs an overlay, not a coating.
- Check for trapped moisture. A simple plastic-sheet test (tape a clear sheet down overnight and look for condensation underneath) or a moisture meter reading will tell you if vapor is migrating up through the slab, which will blister any coating applied over it.
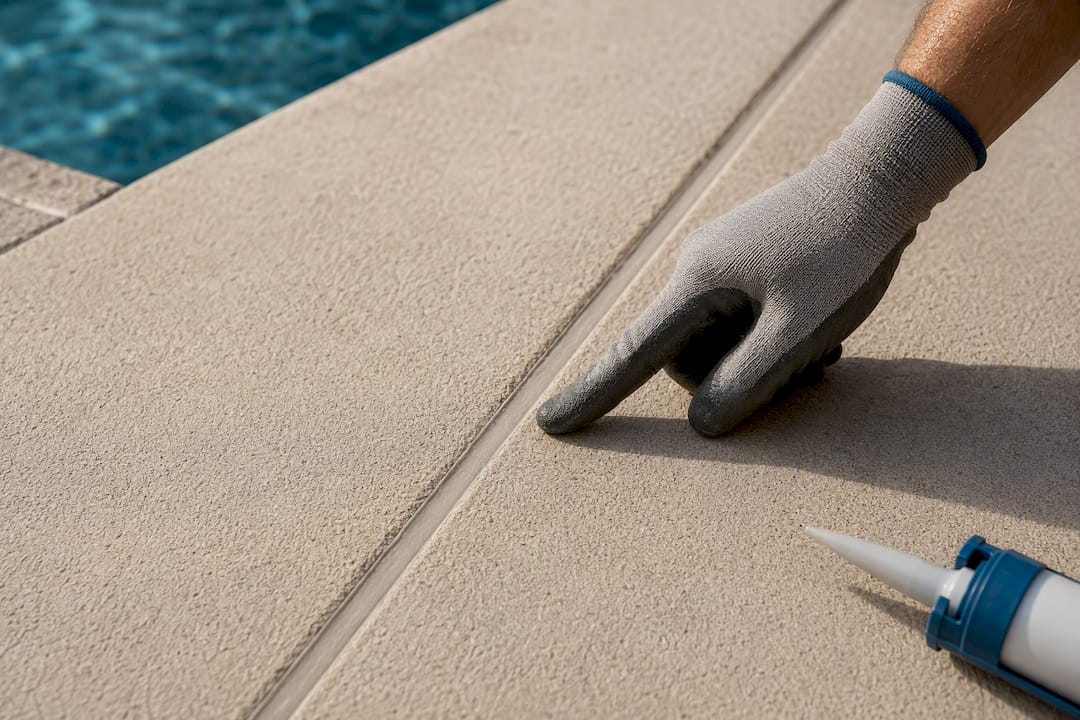
- Prep the joints separately from the field. Old sealant gets cut out, backer rod is set at the correct depth, and new sealant goes in at a 2:1 width-to-depth ratio, meaning a half-inch-wide joint gets roughly a quarter-inch of sealant depth.
That last step is the one DIYers skip most often, and it's the one that causes the most callbacks. Joint sealants have to remain independent of the deck coating, because the slab moves seasonally and the coating doesn't flex with it. A polysulfide sealant like DECK-O-SEAL is formulated to accommodate significant joint movement and should not be painted over, as doing so leads to cracking along joint lines.
Pro Tip: Never assume a joint is "done" once it's caulked. Run your finger along it after it cures. If it feels rigid rather than slightly rubbery, the wrong product went in, and it will fail before your coating does.
Which Coating Should You Choose for Your Deck?
Match the coating to how the deck actually gets used, not to whatever's cheapest at the hardware store. A few questions narrow the field fast:
- How much foot traffic does the deck see? A backyard pool for a family of four has very different demands than a shared community pool deck.
- What chemicals touch the surface regularly? Chlorine splash, sunscreen, and pool shock all degrade weaker coatings faster than plain water exposure.
- How much do you care about heat underfoot? If bare feet on hot concrete is your biggest complaint, prioritize a heat-reflective acrylic or a light-colored topcoat over pure durability.
- What's your realistic DIY skill level? Polyaspartic's fast cure time punishes hesitation. If you've never rolled a two-part coating before, factor in extra help or a smaller test section first.
For a light-use residential patio around an above-ground pool, an acrylic cool-deck product is often the right call. It's forgiving to apply, keeps the surface cooler, and a competent DIYer can finish a modest deck in a weekend. For a family in-ground pool that sees daily summer use, the hybrid epoxy/polyaspartic system earns its higher price tag through resistance to chlorine splash and years of sun without yellowing. For a shared or commercial-adjacent pool deck with heavy year-round foot traffic, that same hybrid system with a full broadcast flake layer for slip resistance is close to the industry standard.
Before buying, pull the product data sheet (PDS) and safety data sheet (SDS) for anything you're considering. Check the VOC content if you're working in an enclosed pool cage with limited ventilation, confirm the slip rating (a coefficient of friction rating is often listed), verify UV-stability claims against actual warranty language, and note the cure window relative to your local weather forecast. If cost is the deciding factor, a pool deck painting cost breakdown can help you compare DIY material costs against a professional quote before you commit either way.
How Do You Apply a Coating for a Durable, Slip-Safe Finish?
Application order matters as much as product choice. Skip a step or rush the timing, and even the best hybrid system will underperform.
- Prep the job site. Mask pool edges, cover equipment, and read the SDS for both the primer and topcoat before opening a single can. Wear gloves and a respirator rated for the solvents listed, especially with two-part epoxies in a semi-enclosed screen cage.
- Pick your weather window. Most coatings need a dry surface, moderate temperatures (typically 50 to 90 degrees Fahrenheit), and low humidity. Rain within the recoat window will ruin an otherwise perfect application.
- Mix and apply the primer. A moisture-mitigating epoxy primer goes down first, mixed according to the manufacturer's ratio and used within its stated pot life, often 30 to 45 minutes for two-part epoxies. Work in sections you can finish before it starts to set.
- Broadcast texture while the base is still wet. Full broadcast of decorative flakes across the wet base coat locks in permanent, mechanically textured slip resistance and covers minor surface irregularities better than sprinkled grit additives, which tend to wear off or clump unevenly over time, according to installer guidance on broadcast flake systems.
- Apply the UV-stable topcoat. Once the base has set enough to walk on without disturbing the flakes, roll on the polyaspartic or acrylic topcoat. Respect its pot life closely. Polyaspartic can set in under an hour, so mix only what you can apply in that window.
- Let it cure fully before use. Foot traffic is usually safe sooner than full swim-ready cure. Acrylic systems from manufacturers like Valspar list touch-dry times of 30 minutes to 2 hours, with 72 to 96 hours recommended before heavy traffic or refilling the pool.
Recommended cure interval: Most manufacturer guidance points to a 72 to 96 hour wait before subjecting a freshly coated deck to heavy foot traffic, pool chemicals, or furniture. Rushing this window is the fastest way to leave permanent scuff marks or peel a fresh topcoat.
How Do You Maintain a Coated Pool Deck Long Term?
A well-applied hybrid coating should hold up for seven to ten years. What shortens that window almost always comes down to neglect rather than bad luck.
- Clean regularly with mild, pH-neutral cleaners. Avoid harsh acid washes, which can etch through UV-stable topcoats over time.
- Rinse away standing water and debris. Ponding water that sits for days accelerates coating breakdown, especially around low spots or clogged deck drains.
- Watch the joints, not just the field coating. Cracking that follows a straight joint line usually means the sealant failed or was painted over, not that the coating itself is bad.
- Distinguish adhesion loss from substrate failure. Bubbling or peeling in sheets usually points to trapped moisture at application time. Flaking that exposes bare concrete underneath often means the substrate itself was never properly profiled.
- Spot-repair small areas promptly. A small chip or scuff can be sanded, primed, and patched locally. Waiting until it spreads usually means stripping and recoating the whole section instead of a quick fix.
If you're noticing recurring peeling in the same spots, it's worth reading through common causes of pool deck paint peeling before you assume a full recoat is your only option.
Pro Tip: Keep a small labeled can of your original topcoat color and product name in storage after the job. Touch-up work years later goes much smoother when you're not guessing what was originally applied.
What Do Pool Deck Restoration Professionals See in the Field?
Coating failures tend to follow a predictable pattern: moisture trapped beneath a slab, cracking that got painted over instead of repaired, and joints that were sealed with the wrong product or sealed with nothing at all. Restoration work pairs water-based acrylic coatings with proper joint repair and stainless steel or Nylotech fasteners on the surrounding enclosure, so the whole structure ages at the same rate instead of one part failing years before another.
The decks that hold up longest aren't always the ones with the most expensive coating. They're the ones where somebody checked the joints and the moisture before a single coat went down.
Most callback requests trace back to a shortcut in prep, not a bad product choice. That's the pattern worth remembering before you pick up a roller.
What Should You Actually Prioritize on This Project?
Most guides bury the joint sealant warning halfway through a long checklist. That's backwards. If you fix everything else and get the joints wrong, you'll be redoing this project in eighteen months regardless of how good the coating itself is.
The conventional DIY advice online tends to fixate on brand comparisons and color choices, which matters far less than most people assume. A mid-tier acrylic applied over correctly prepped, correctly jointed concrete will outlast a premium hybrid system slapped over a slab with trapped moisture and painted-over sealant.
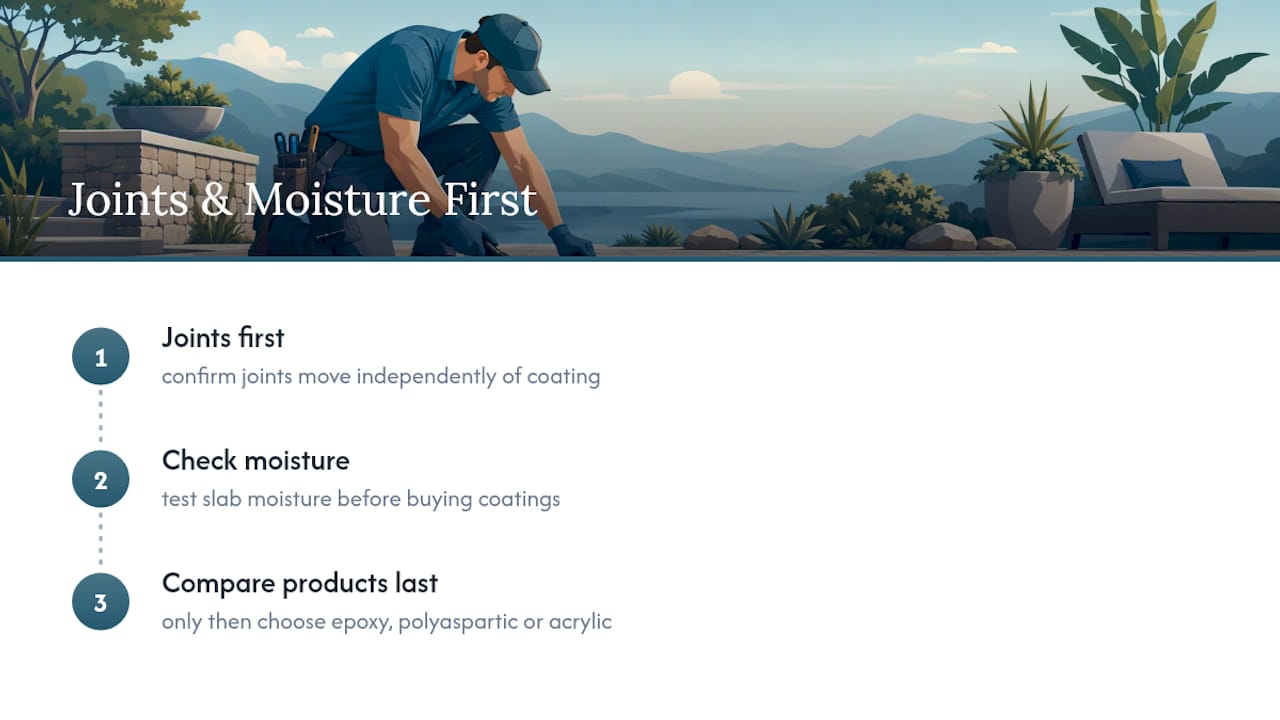
If you take one thing from this guide, prioritize the boring parts first: confirm your joints move independently of the coating, check for moisture before you buy a single can, and only then start comparing epoxy versus polyaspartic versus acrylic. Get the sequence backwards, and no amount of product quality saves the job.
— Michel
When Should You Hire Mrpoolscreen for Deck Coating Work?
If reading through joint depth ratios, moisture testing, and pot-life windows made the DIY route sound like more than you want to take on, that's a reasonable call. Professionals can handle the full scope for homeowners: deck surface prep, crack and joint repair, staining and coating for concrete, masonry, wood, and stone, plus enclosure work including fastener replacement so the screen structure ages alongside the deck instead of rusting out first.

Getting an estimate is straightforward. Have a few clear photos of the deck ready, especially any visible cracking, joint gaps, or peeling, along with a rough square footage. That's usually enough for a first assessment. Hiring a pro is strongly worth it if you're seeing active moisture, cracks wider than a hairline, or a joint layout with multiple angles and drains, since those conditions are exactly where DIY jobs go wrong fastest. You can browse examples of finished work in the project gallery or start with the pool deck staining and coating service page to see what's included before requesting a quote.
Where Can You Verify These Coating Specs Yourself?
Before buying or applying any product mentioned here, pull the manufacturer's own documentation. The W. R. Meadows joint sealant technical guidance covers why coatings and movement joints need to stay separate. The DECK-O-SEAL polysulfide product page details movement capacity and cure specs for joint work. The GatorGuard hybrid coating guide explains the epoxy/polyaspartic pairing in more depth, and the ConcreteNetwork resurfacing guide helps you decide if your slab needs an overlay instead of a coating. Always check the current PDS and SDS for the exact product you buy, since formulations change.
Sources
- W. R. MEADOWS technical guidance (joint sealant data sheet)
- GatorGuard: Best pool deck coating guide (hybrid epoxy polyaspartic system)