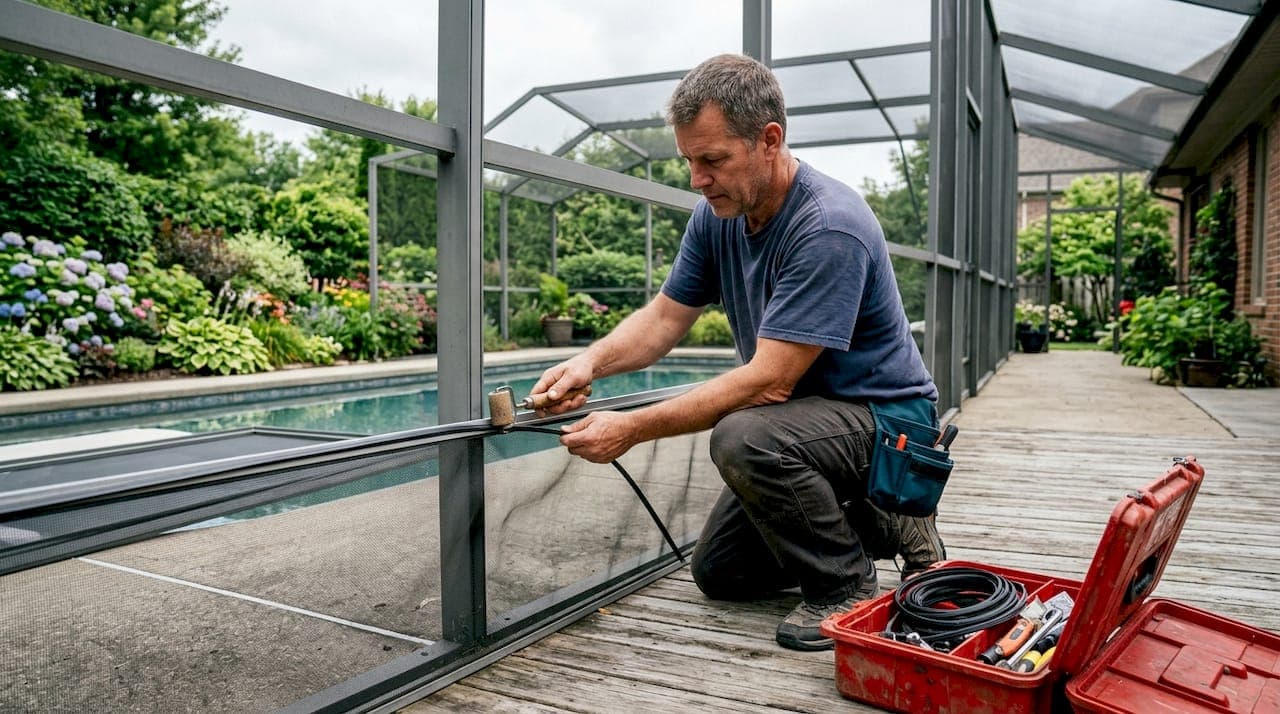
Fixing a sagging pool screen comes down to one of three culprits: loose or deteriorated spline, stretched screen mesh, or a compromised aluminum frame. Once you identify which one you're dealing with, the repair is straightforward. You'll need a spline roller, replacement spline, new screen mesh (if the panel is beyond tightening), a utility knife, and screen repair tape for minor tears. The basic process: pull out the old spline, lay fresh screen over the frame with a few inches of overlap on each edge, press the new spline into the channel using your spline roller, and trim the excess cleanly. Work one side at a time, keeping tension even as you go.
A few things to flag before you start:
- Work with a helper any time you're on a ladder or dealing with roof panels
- Wear gloves and safety glasses when cutting screen mesh
- Check the frame for corrosion or bending before buying materials
- Use corrosion-resistant fasteners if you're replacing any screws
- Screen repair tape handles small punctures but won't hold on large tears or loose panels
For most wall panels, a confident DIYer can complete a full rescreen in a few hours. Roof panels are a different story and often warrant a professional call.
What causes pool screens to sag?
Pool screens sag for a handful of reasons, and knowing which one applies to your enclosure saves you from buying the wrong materials or skipping a step that matters.
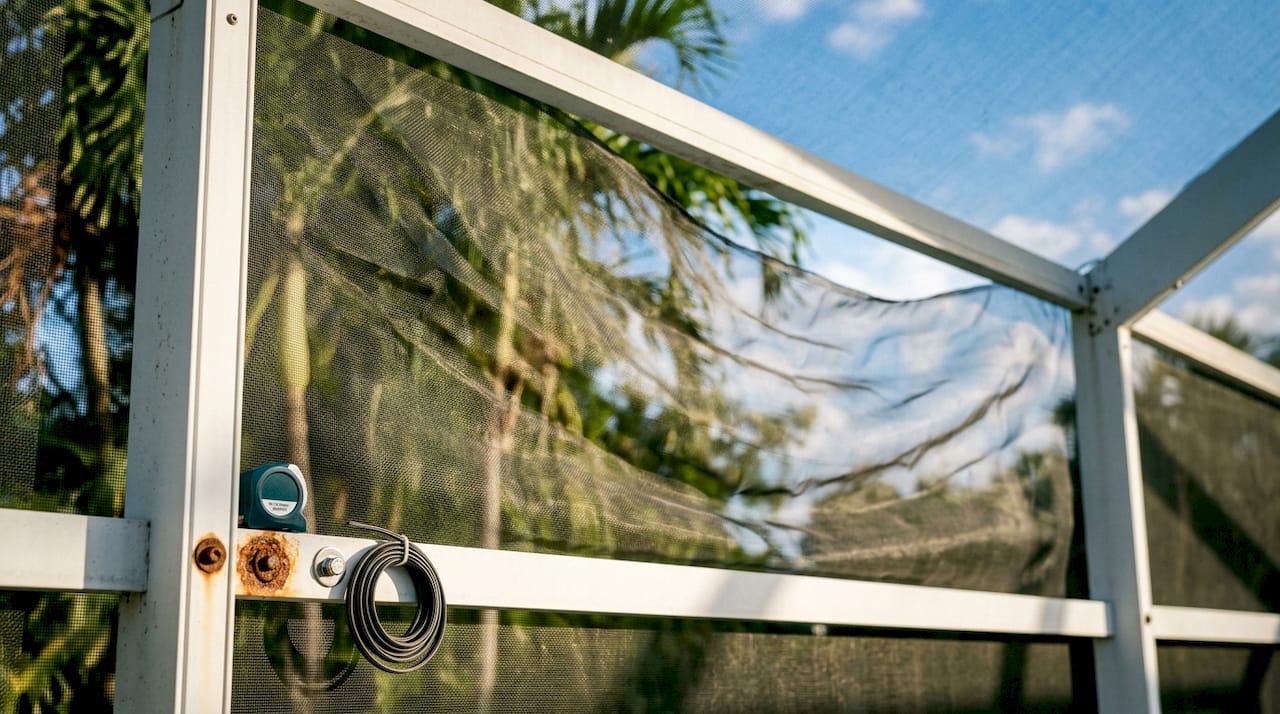
Age and UV exposure are the most common factors. Direct sunlight makes screen fibers brittle over time, reducing their ability to hold tension. A screen that looked tight when installed can develop a noticeable droop after several years of Florida sun without any physical damage at all.
Common causes at a glance:
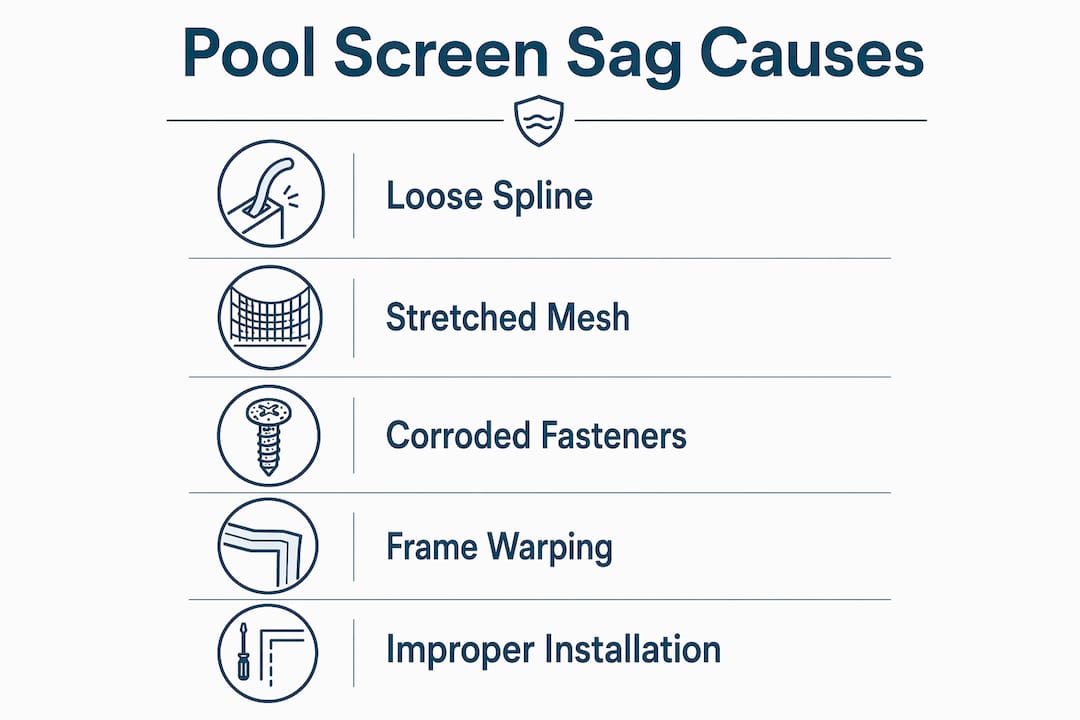
- Loose or broken fasteners: When screws corrode or strip, panels lose their anchor points and begin to shift and sag
- Stretched screen material: Improper installation tension or years of wind load can permanently stretch the mesh beyond recovery
- Weakened aluminum frames: Corrosion, physical impact, or joint misalignment reduces the frame's ability to hold screen tension
- Deteriorated spline: The rubber or vinyl spline that locks screen into the channel dries out and shrinks, releasing the screen's grip
- Wind stress: Repeated pressure from storms pulls at screen panels, gradually working fasteners loose and distorting frame geometry
- Improper original installation: Screen installed without diagonal stretching often sags prematurely, sometimes within the first season
One detail many homeowners miss: fasteners can lose up to 75% of their structural strength within the first year if they're the wrong type for outdoor aluminum frames. That's not gradual wear. That's a rapid failure that looks like a screen problem but is actually a hardware problem.
How do you diagnose a sagging pool screen?
A thorough inspection before you buy a single roll of mesh saves time and money. Walk the perimeter of your enclosure and work through this checklist:
Visual checks:
- Look for panels that bow inward or hang loosely from the frame
- Check for tears, holes, or mesh that has pulled away from the spline channel
- Look for rust streaks or orange discoloration around screw heads
- Note any frame sections that appear bent, bowed, or out of alignment
Hands-on checks:
- Gently press each panel. A properly tensioned screen should feel firm, not springy or floppy
- Tug the spline at the corners. If it pulls out easily or feels crumbly, it needs replacing
- Try tightening any visibly loose screws. If a screw spins without gripping, the hole is stripped or the fastener has corroded through
Frame assessment:
- Bent or corroded aluminum frames compromise screen tension and can't be fixed by rescreening alone
- Check joints and connectors for misalignment, which creates uneven tension across panels
- Look for rust stains bleeding from screw holes onto the frame surface
The distinction between a minor issue and a structural one usually comes down to the frame. If the screen is saggy but the frame is straight and the fasteners are solid, you're looking at a straightforward rescreen. If the frame is bent or the screw holes are stripped, that work comes first. A pool screen safety inspection checklist can help you document what you find before starting any repair.
What tools and materials do you need for DIY screen repair?
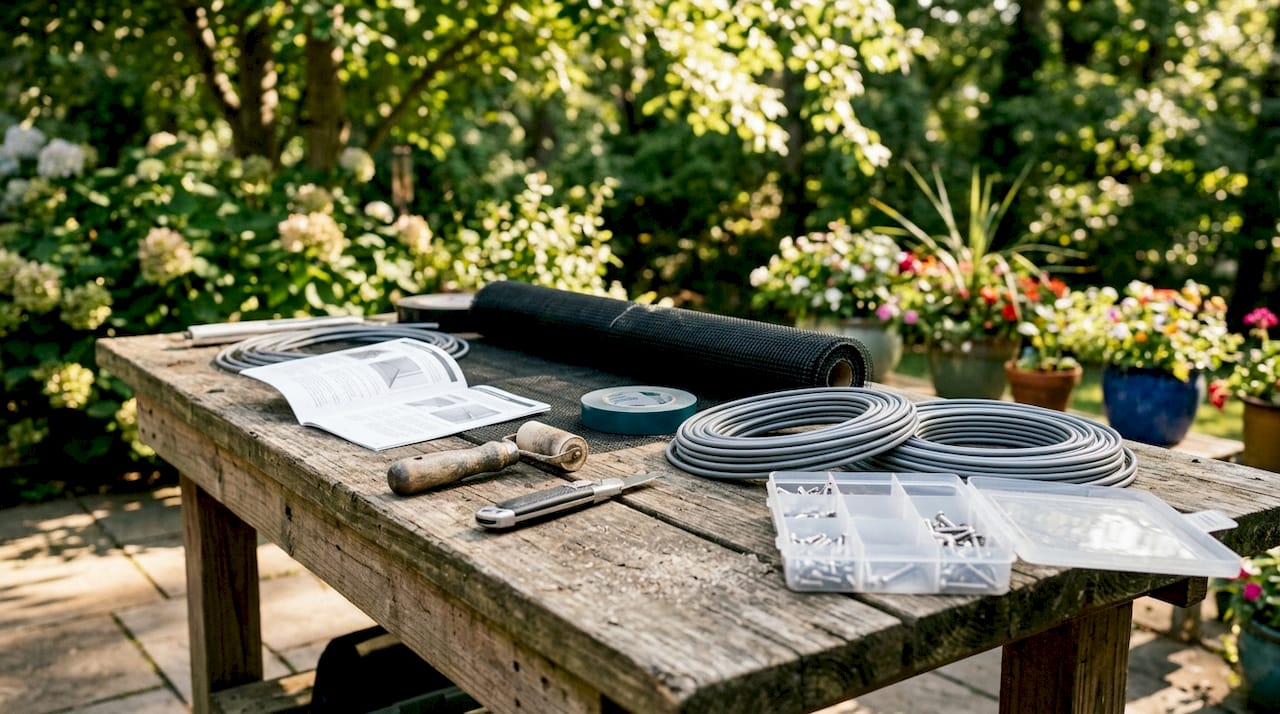
Getting the right supplies before you start is half the battle. Here's what a complete repair kit looks like:
Core tools and materials:
- Spline roller: A dual-wheel tool with a convex wheel for pressing spline into the channel and a concave wheel for seating it firmly. Don't substitute a screwdriver. The roller applies even pressure without tearing the screen.
- Replacement spline: Comes in diameters from 0.140" to 0.250". Measure your existing spline before buying. Using the wrong size is the most common rookie mistake.
- Screen mesh: Standard fiberglass mesh works for most wall panels. For high-traffic areas or pet households, consider a heavier-duty polyester or pet-resistant mesh.
- Utility knife: A sharp blade is non-negotiable. Dull blades drag and tear the mesh instead of cutting cleanly.
- Screen repair tape: Useful for small punctures and short tears, but repair kits and patches don't last long on large damage or areas under significant tension.
- Corrosion-resistant fasteners: Stainless steel or ceramic-headed screws rated for outdoor aluminum use. Standard zinc screws will rust within months in humid climates.
- Flat-head screwdriver or spline removal tool: For prying out old spline without gouging the channel
DIY pool screen repair kits run $10–$50 and cover small tears or single-panel rescreens. For a full enclosure rescreen, budget separately for mesh by the roll and spline by the foot.
Pro Tip: Buy 10–15% more mesh than your measured square footage. Mistakes happen, and running short mid-job means a second hardware store trip.
Step-by-step DIY guide to fix sagging pool screens
Wall panels are a realistic DIY project for most homeowners. Take your time on the spline installation. Rushing that step is what causes new screens to sag within weeks.
Removing the old screen and spline
- Start at a corner and use a flat-head screwdriver or spline removal tool to pry up the spline
- Pull the spline out of the channel in one continuous piece if possible
- Remove the old screen and discard it
- Clean the spline channel with a dry cloth to remove debris, old rubber fragments, and grit
- Inspect the channel for cracks or damage. A cracked channel won't hold new spline securely.
Installing the new screen
- Lay the new screen mesh over the frame, leaving 2–3 inches of overlap on all sides
- Start with one long side. Use the convex wheel of your spline roller to press the spline into the channel, locking the screen in place
- Move to the opposite long side, pulling the screen taut before pressing the spline in. Working diagonally when stretching the mesh distributes tension more evenly and reduces post-installation sagging
- Repeat on both short sides, keeping consistent tension throughout
- Press the spline firmly and evenly. Proper spline installation requires steady pressure in the channel to prevent premature sagging and screen tears
- Trim excess screen with your utility knife, cutting flush against the outer edge of the spline channel
Addressing minor tears and frame fasteners
- For small punctures, apply screen repair tape to both sides of the mesh and press firmly
- Replace any loose or corroded screws with stainless steel fasteners before reinstalling the screen
- If screw holes are stripped, use a fastener protection sleeve to restore grip rather than simply driving a larger screw
Safety notes for ladder and height work:
- Use a stable, rated ladder with rubber feet on pool deck surfaces
- Have a helper hold the ladder and hand up materials
- Never lean the ladder against the screen frame itself
- For roof panels, walk boards distributed across the frame are strongly recommended. Roof panel DIY repairs at height significantly increase risk, and a helper with safety equipment greatly improves the outcome.
How do you maintain a pool screen enclosure to prevent sagging?
Consistent maintenance is the cheapest repair you'll ever do. Most sagging problems that require a full rescreen started as a loose screw or a small tear that went unaddressed for a season.
Seasonal inspection checklist:
- Check all fasteners for rust, discoloration, or looseness. Rust and loose panels increase storm damage risk and signal that replacement is overdue
- Inspect the spline around the full perimeter for shrinkage, cracking, or sections pulling free
- Press each panel to confirm consistent tension
- Look at the frame for new corrosion spots, bends, or joint gaps
- Check for algae growth on the mesh, which adds weight and accelerates fiber degradation
Cleaning and hardware care:
- Clean with mild soap and water, rinsing thoroughly to prevent residue buildup that accelerates wear
- Avoid bleach or pressure washing directly on the mesh. Both degrade fibers faster than weather does.
- Lubricate all hardware annually with a silicone-based spray
- Replace corroded screws immediately with ceramic- or nylon-headed fasteners that won't react with the aluminum frame
Installing a pool cage gutter to redirect water flow around the structure extends enclosure life noticeably. For broader weather damage prevention, sealing frame joints and keeping vegetation trimmed back from the enclosure also reduces stress on panels during storms.
When should you call a professional instead of doing it yourself?
Some repairs are genuinely outside DIY territory, and pushing through them creates bigger problems than the original sag.
Call a professional when you see:
- Bent or broken aluminum frame members that need straightening or replacement
- Large sections of sagging screen across multiple panels simultaneously
- Persistent sagging after a DIY rescreen attempt
- Roof panel damage requiring work at height without proper safety equipment
- Stripped or corroded screw holes throughout the frame that need specialized fastener repair
Cost is a real factor here. Small repairs run $200–$600, major structural repairs land in the $600–$2,500 range, and full rescreening typically costs $1,200–$3,500 depending on enclosure size. When the screen is 10 or more years old and multiple panels are failing, a full rescreen often costs less than patching individual panels over two or three seasons.
Roof panel work is the clearest line. The height, the need for walk boards, and the difficulty of maintaining even screen tension overhead make it a job where professional expertise pays for itself. Services like The Pool Sharks handle enclosure repairs with the right equipment for high and complex work.
Full rescreening also makes sense when fasteners throughout the structure need replacement. Replacing fasteners on their own costs around $2,400, but doing it during a rescreen drops that to roughly $1,400 because the labor overlaps.
What are the structural safety risks of neglecting pool screen repairs?
A sagging screen isn't just an eyesore. It's a warning that the enclosure's structural integrity is degrading, and in hurricane-prone states like Florida, that has real consequences.
Corroded fasteners are the most direct risk. Once rust takes hold, it spreads to the surrounding aluminum frame and weakens the connection between panels and the structure. An enclosure with compromised fasteners offers significantly less wind resistance than one with intact hardware, and storm damage to a weakened structure tends to be total rather than partial.
Home inspectors in South Florida frequently document torn screens, corroded framing, and loose fasteners after hurricane season, even on relatively new enclosures. These findings affect insurance eligibility and property value, not just repair costs.
Neglecting enclosure maintenance can reduce structural resistance to high winds by corroding screws and loosening panels, negatively affecting insurance eligibility and property value in hurricane-prone regions. Inspection red flags after storms often involve screen damage and corroded frames requiring repair or replacement.
Pro Tip: Document your enclosure's condition with photos twice a year, before and after storm season. Insurers and home inspectors both respond better to homeowners who can show a maintenance history rather than a deferred-maintenance pattern.
Using corrosion-resistant fasteners and water-based acrylic coatings preserves both the structural function and the appearance of the enclosure long-term. Mrpoolscreen uses industrial-grade stainless steel fasteners and water-based acrylic coatings specifically because standard hardware fails quickly in Florida's humidity and heat.
How do you troubleshoot frame warping that affects screen tension?
Frame problems are sneaky because they look like screen problems at first. The panel sags, you rescreen it, and it sags again within weeks. That cycle is almost always a frame issue.
Identifying warping vs. screen failure:
Start by removing the screen from the problem panel entirely. With the screen out, sight down the frame channel from one end. A straight channel will look uniform. A warped one will show a visible bow or twist, and the channel itself may be partially closed or flared open at the damage point.
Minor bends in aluminum extrusions can sometimes be corrected by hand or with a rubber mallet and a wooden block to protect the surface. Significant bends, especially at joints or connectors, typically need replacement of that frame section. Trying to stretch a screen tight across a bowed frame just transfers the tension unevenly, and the screen will always migrate toward the low point.
Joint misalignment is a separate issue. When two frame members don't sit flush at a connector, the channel doesn't line up, and spline won't seat properly across the joint. The fix is disassembling the joint, cleaning the connector, and reassembling with fresh fasteners before rescreening.
Replacing old fasteners with ceramic- or nylon-headed screws prevents the rust that causes frame staining and joint loosening in the first place. If corroded holes have already stripped, fastener protection systems with sleeves restore thread grip without requiring a new frame section.
How do you choose the right screen type and tension system?
Not all screen mesh is the same, and the wrong choice for your situation means repeating this repair sooner than you should.
Screen mesh options:
- Standard fiberglass mesh (18x14 or 18x16 weave): The most common choice for wall panels. Good airflow, reasonable UV resistance, and easy to work with during installation.
- Super screen or heavy-duty polyester: Thicker and more tear-resistant, better for homes with pets or high debris exposure. Harder to stretch evenly, so it requires more care during spline installation.
- No-see-um mesh (20x20 weave): Finer weave that blocks tiny insects but reduces airflow noticeably. Common in areas with heavy gnat or midge populations.
- Solar or privacy screen: Reduces UV transmission and visibility. Heavier than standard mesh, so frame and fastener integrity matters more.
Spline sizing and tension systems:
Spline diameter must match your frame channel. Too thin and the screen pulls free under tension. Too thick and you can't seat it properly, which creates gaps. Measure the channel width with calipers before buying. Most residential enclosures use 0.160" or 0.175" spline, but older frames sometimes run wider.
For roof panels, some installers use a tension spring system at one end of the panel to allow for thermal expansion without loosening the screen. This is worth considering in climates with significant temperature swings, where standard spline-only installations tend to loosen over time as the frame expands and contracts seasonally.
A 2026 homeowner's guide to pool enclosures covers material selection in more depth if you're planning a full rescreen rather than a single-panel repair.
What does a typical sagging screen repair cost and how long does it take?
The honest answer is that cost and time both depend heavily on how much of the work you do yourself and how far the damage has spread.
DIY repair costs:
- Repair tape and patch kit for a small tear: $10–$50
- Single panel rescreen (materials only): $15–$40 depending on mesh type and panel size
- Full DIY rescreen of an average enclosure: $100–$300 in materials
Professional repair costs:
- Small repairs: $200–$600
- Major structural repairs: $600–$2,500
- Full rescreening: $1,200–$3,500, or $0.75–$1.50 per square foot of screen area
Time estimates:
A single wall panel rescreen takes most homeowners 45–90 minutes once they have the materials and have done it once before. The first panel always takes longer. A full enclosure DIY rescreen on a standard pool cage is typically a full weekend project, longer if frame repairs are needed first.
Professional crews work faster with multiple people and proper equipment, but scheduling, access, and the scope of frame repairs all affect the timeline. For an aging enclosure with multiple issues, getting a professional assessment before committing to a DIY approach often clarifies whether the project is realistic or whether the frame condition changes the math entirely.
Key Takeaways
Sagging pool screens are fixable with the right diagnosis, proper tools, and consistent maintenance. Skipping the frame inspection before rescreening is the most common reason DIY repairs fail within a season.
| Point | Details |
|---|---|
| Identify the root cause first | Sagging stems from loose spline, stretched mesh, corroded fasteners, or a warped frame. Fix the frame before rescreening. |
| Use the right spline diameter | Measure your channel before buying spline. Wrong sizing causes screens to pull free or seat improperly. |
| Fastener failure is fast | Some fasteners lose up to 75% of structural strength within the first year, making prompt replacement critical. |
| DIY vs. professional threshold | Wall panels are realistic DIY work. Roof panels and bent frames warrant professional help, with full rescreening generally costing $1,200–$3,500 depending on enclosure size. |
| Maintenance prevents recurrence | Seasonal inspections, mild soap cleaning, and prompt screw replacement extend enclosure life and protect insurance eligibility. |
Mrpoolscreen Can Handle What DIY Can't

When the frame is corroded, the fasteners are failing throughout, or the enclosure needs more than a fresh panel, Mrpoolscreen's pool screen restoration service is built for exactly that situation. Working across Central Florida, Mrpoolscreen uses industrial-grade stainless steel fasteners and water-based acrylic coatings to restore aging pool cages without the cost of a full rebuild. Clients save up to 60% compared to replacement, and the results hold up through Florida's storm seasons.